
What is the centerpiece of any main indoor or outdoor living area? The table, of course! Unfortunately, tables are so dang expensive these days! A well-made dining table or outdoor dining table can easily run you over $1,000, and often times much more. We believe that the dining table is the centerpiece of a household and these outrageous prices should affect any family from having a great place to eat! So, we have made a step-by-step guide on how to make a great indoor and outdoor dining table that would look amazing in any home! For more detailed instructions that include dimensions and also decorative brackets that make your table look even better, check out our DIY Table Kit!
Materials and Tools:
Before starting your project, gather the necessary materials and tools. This typically includes:
- Lumber - Various Sizes (changed depending on design)
- 2"-3" Screws
- Drill
- Tape measurer
- Miter Saw
- Wood Stain (optional)
- Decorative Brackets (optional)

Step 1: Planning and Design
If you decided not to purchase the DIY Table Kit, you will need to design your table before buying any lumber. Begin by determining the size of your table. Common heights of tables are around 30 inches and the common width is around 45 inches. For the length, consider factors such as the size of your outdoor space, the amount of people you will commonly sit at the table, and how much space you want the table to take up when it is not in use. Sketch out your design, taking into account the desired dimensions, shape, and style of the table.
Take your time and be as detailed as possible. It is a lot easier and leads to less problems if you have a sketch to refer back to.
Anatomy of a Table
The anatomy of a table is not complicated (for the designs we make) It can be broken down to the legs, cross bar, and table-top. There are other small parts like the feet, vertical support, and more, but those can change by each design. Use this picture to easily break down the design of one of our tables.

Step 2: Buying Materials
Once you have the design of your table, go to your local hardware store or lumber yard to get your materials. We recommend using furniture grade lumber for this project. Our favorite species to use for tables is oak, maple, and walnut.
The easiest way to fasten a table together is by using 2"-3" screws, but we recommend using a wood putty to hide the screws from sight.
Optional: Buy wood stain or other protective wood oils that will keep your table looking good for longer. We definitely recommend putting a protective finish over the table-top to prevent from stains or any other damage that will happen over time.

Step 3: Cutting Lumber to Specified Lengths
If your design is detailed enough to include measurements, this step should be no problem. A miter saw would be the easiest way to cut most of the pieces. We do not recommend cutting every piece at once as your design or assembly could change and you may cut a piece to the wrong size. Remember, "measure twice, cut once."

Step 4: Assemble Table
It is easiest to build the table in sections. We recommend building the legs first, followed by the cross beam and finally the table-top. It is very difficult to assemble the table any other way and may lead to miscalculations.
Like we mentioned earlier, use 2"-3" screws to assemble the table and then go over top of the screws hole with wood putty to cover up the imperfections.

Optional: Pocket Holes
A common and great way to hide screws is by using a pocket hole. These allow the screw to not only be hidden but also gets a better connection between each board. To use this type of hole, you will need to buy a jig and the appropriate drill bit from your local hardware store.

Step 5: Finishing Touches
A great way to get the table looking uniform in color/shade is by using a wood stain once the table is finished. The wood stain will also add some protection to the wood from damage that will occur over time. We also recommend going over top of the stain with another layer of protection, once the stain is completely dry. Use polyurethane or a varnish to coat the table, you won't regret it!
DIY Table Bracket Kit
We designed our own table down to the inch and included all the brackets and bracket hardware you will need. If you are not as experienced in designing wood pieces, consider ordering our kit! (Lumber, tools, and fasteners not included)


Estimated Delivery
Order placed
01 Apr
Shipped
11 Apr - 13 Apr
Delivered
14 Apr - 18 Apr
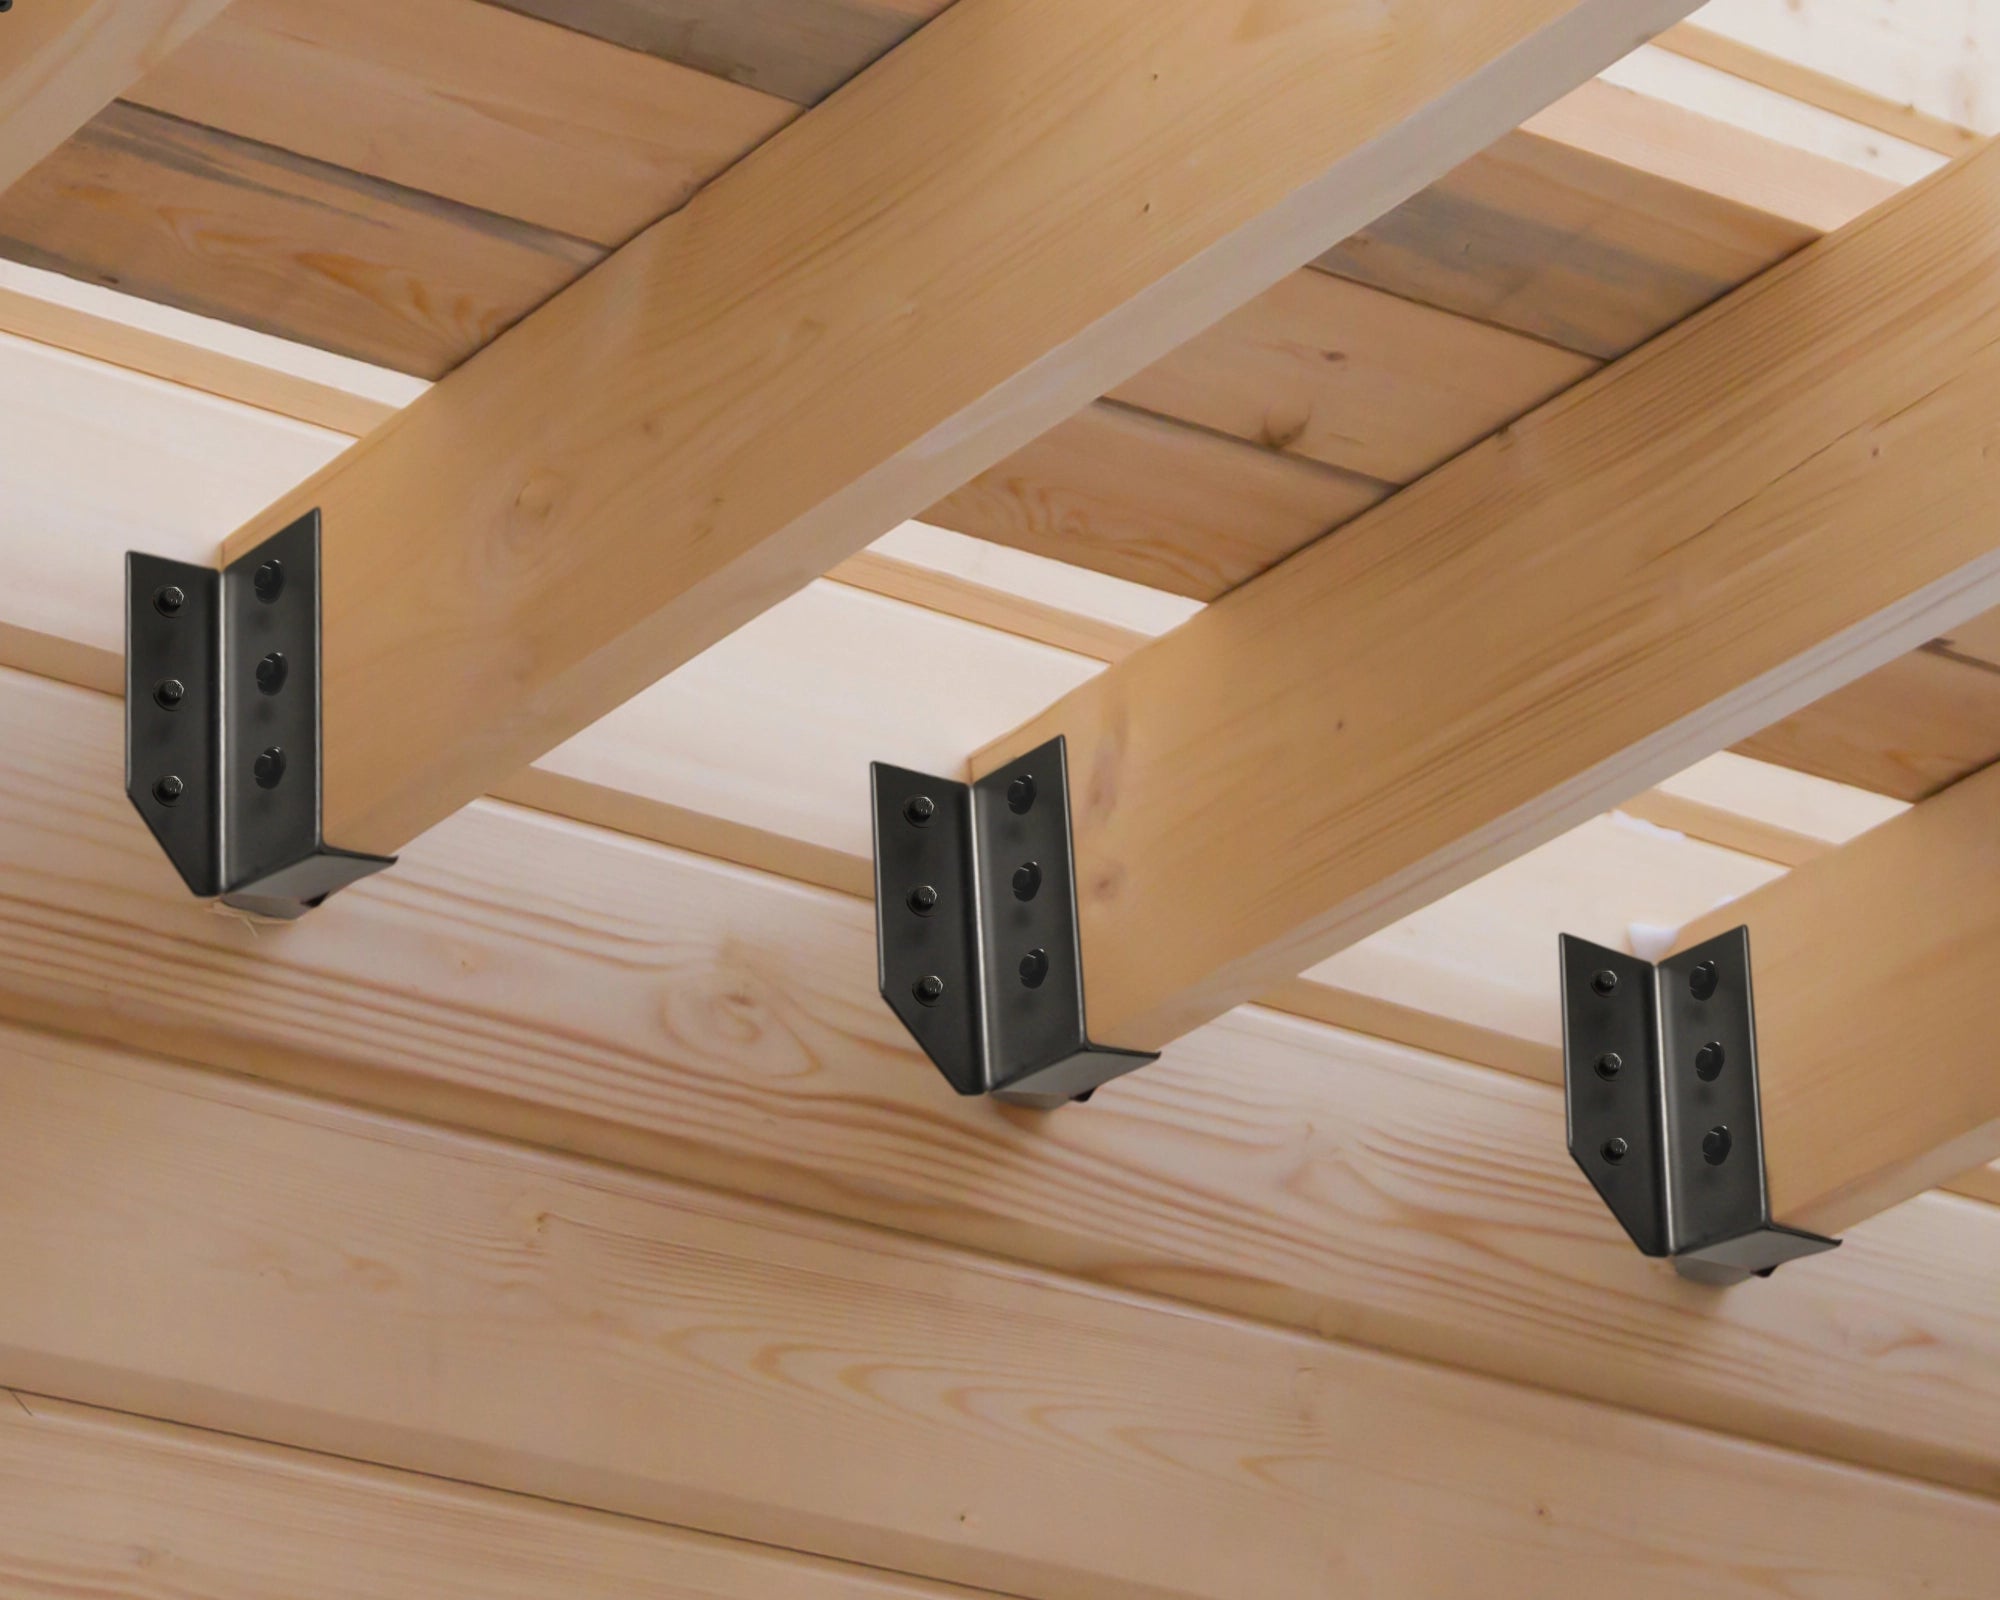
JOIST HANGERS
JOIST HANGERS
Add some support to your floor/ceiling joists with these heavy-duty joist hangers.
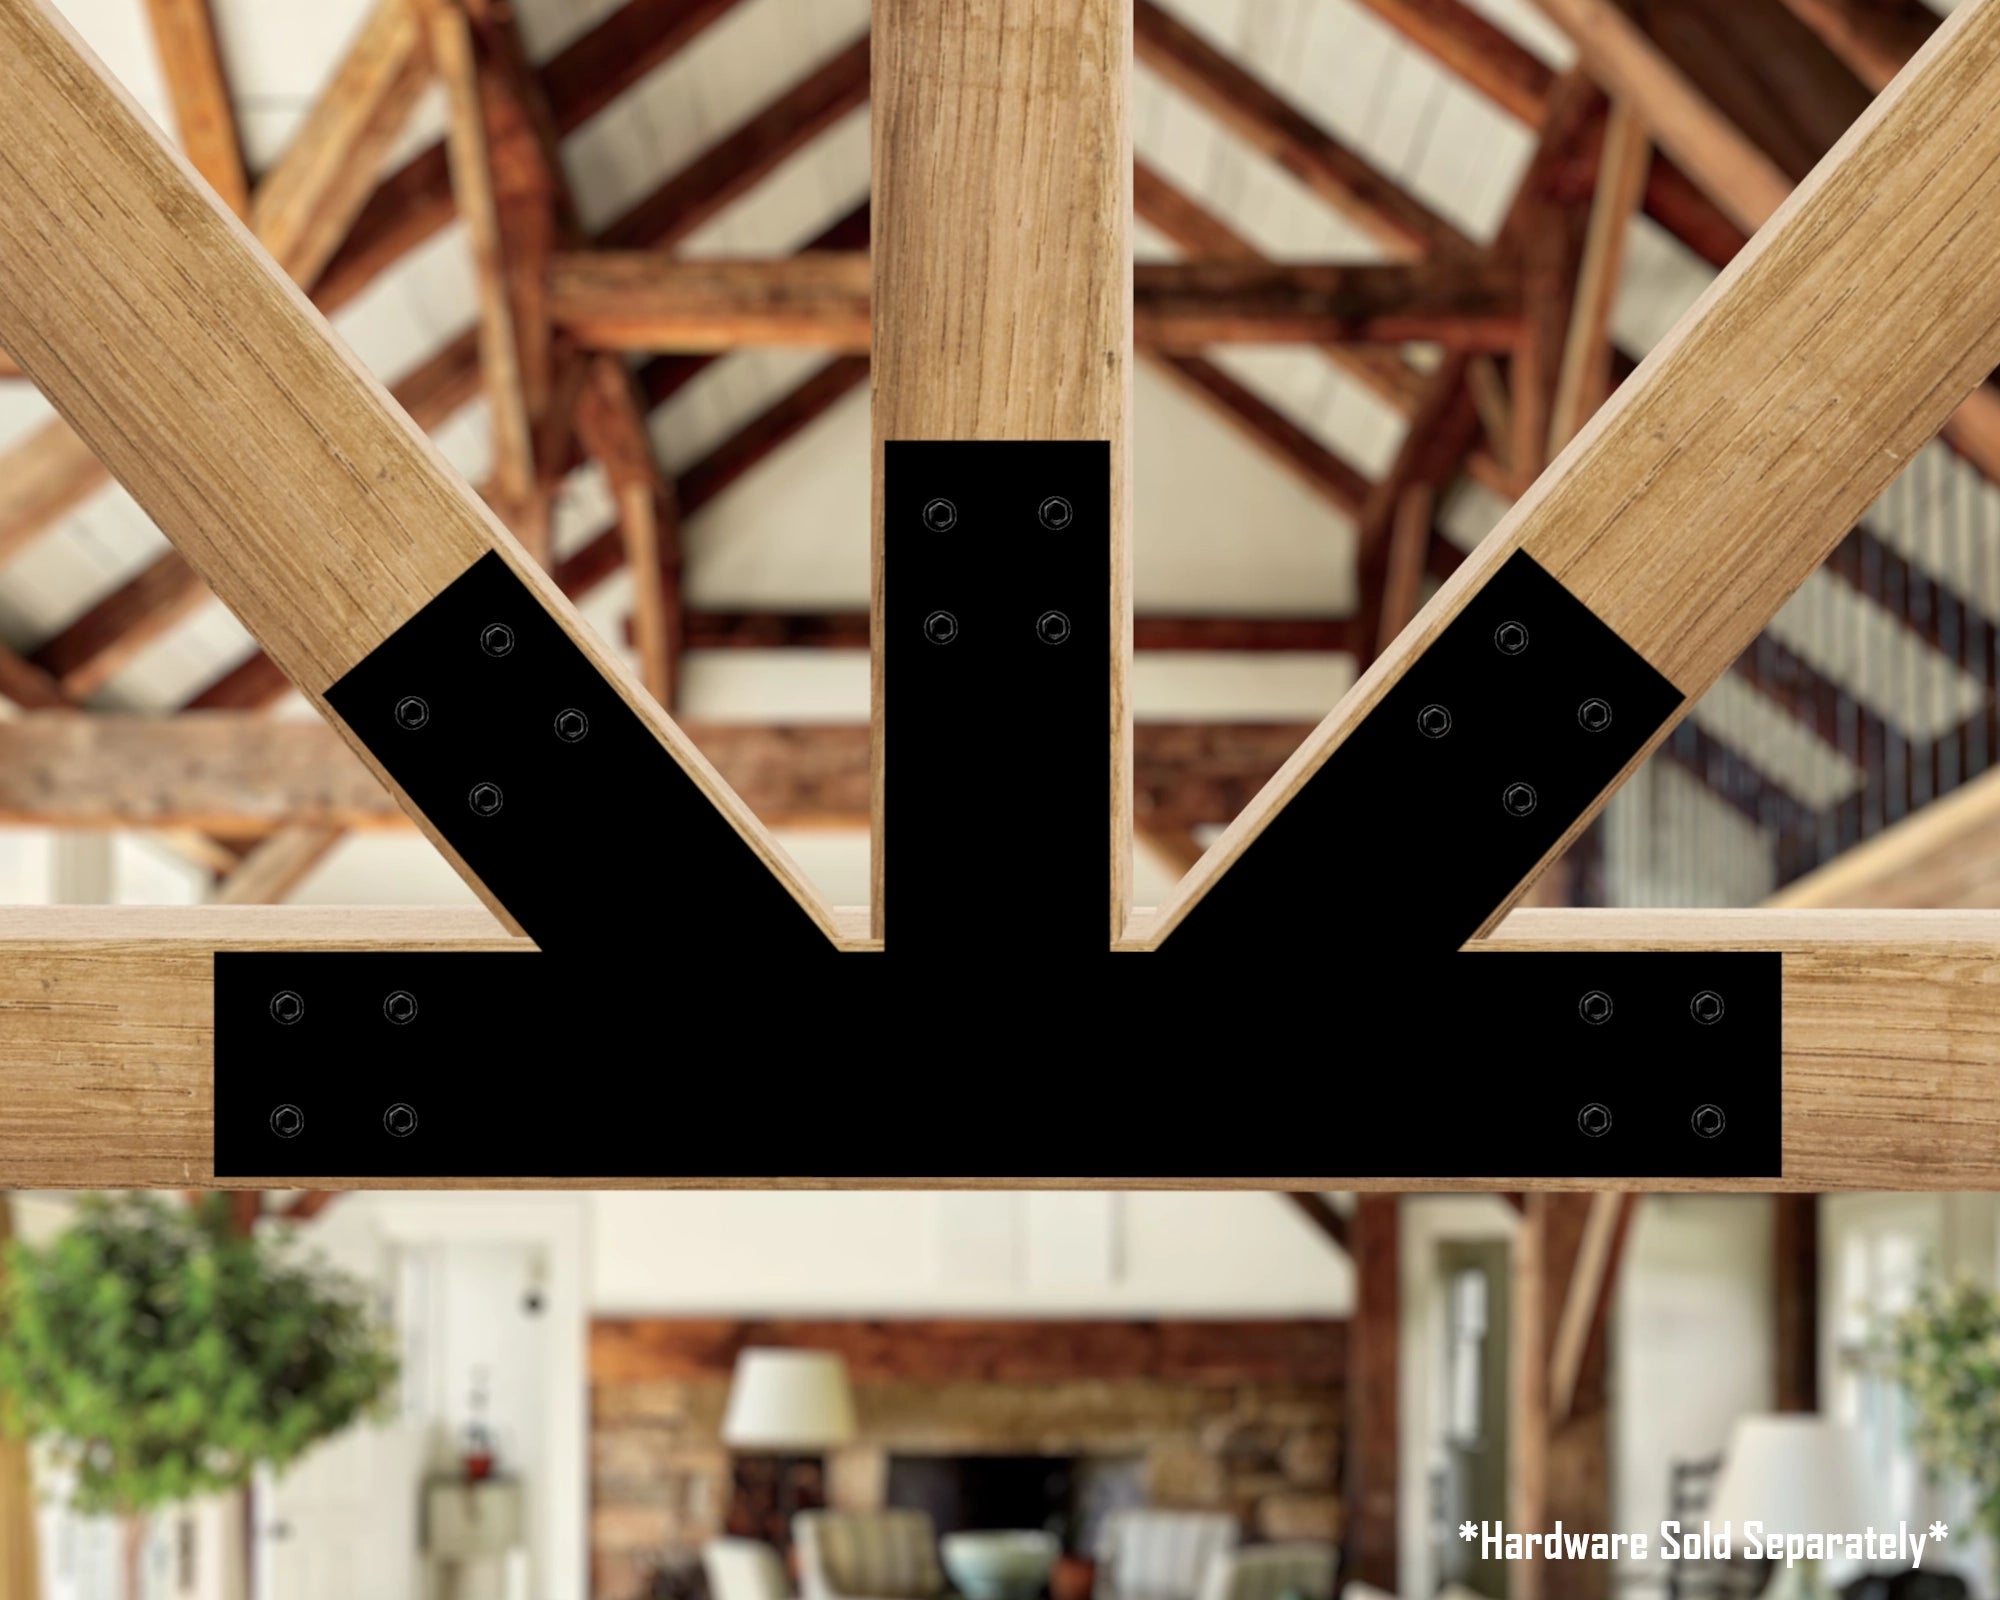
TRUSS SETS
TRUSS SETS
Outfit and support your exposed trusses with these full sets of brackets. We made it simple!
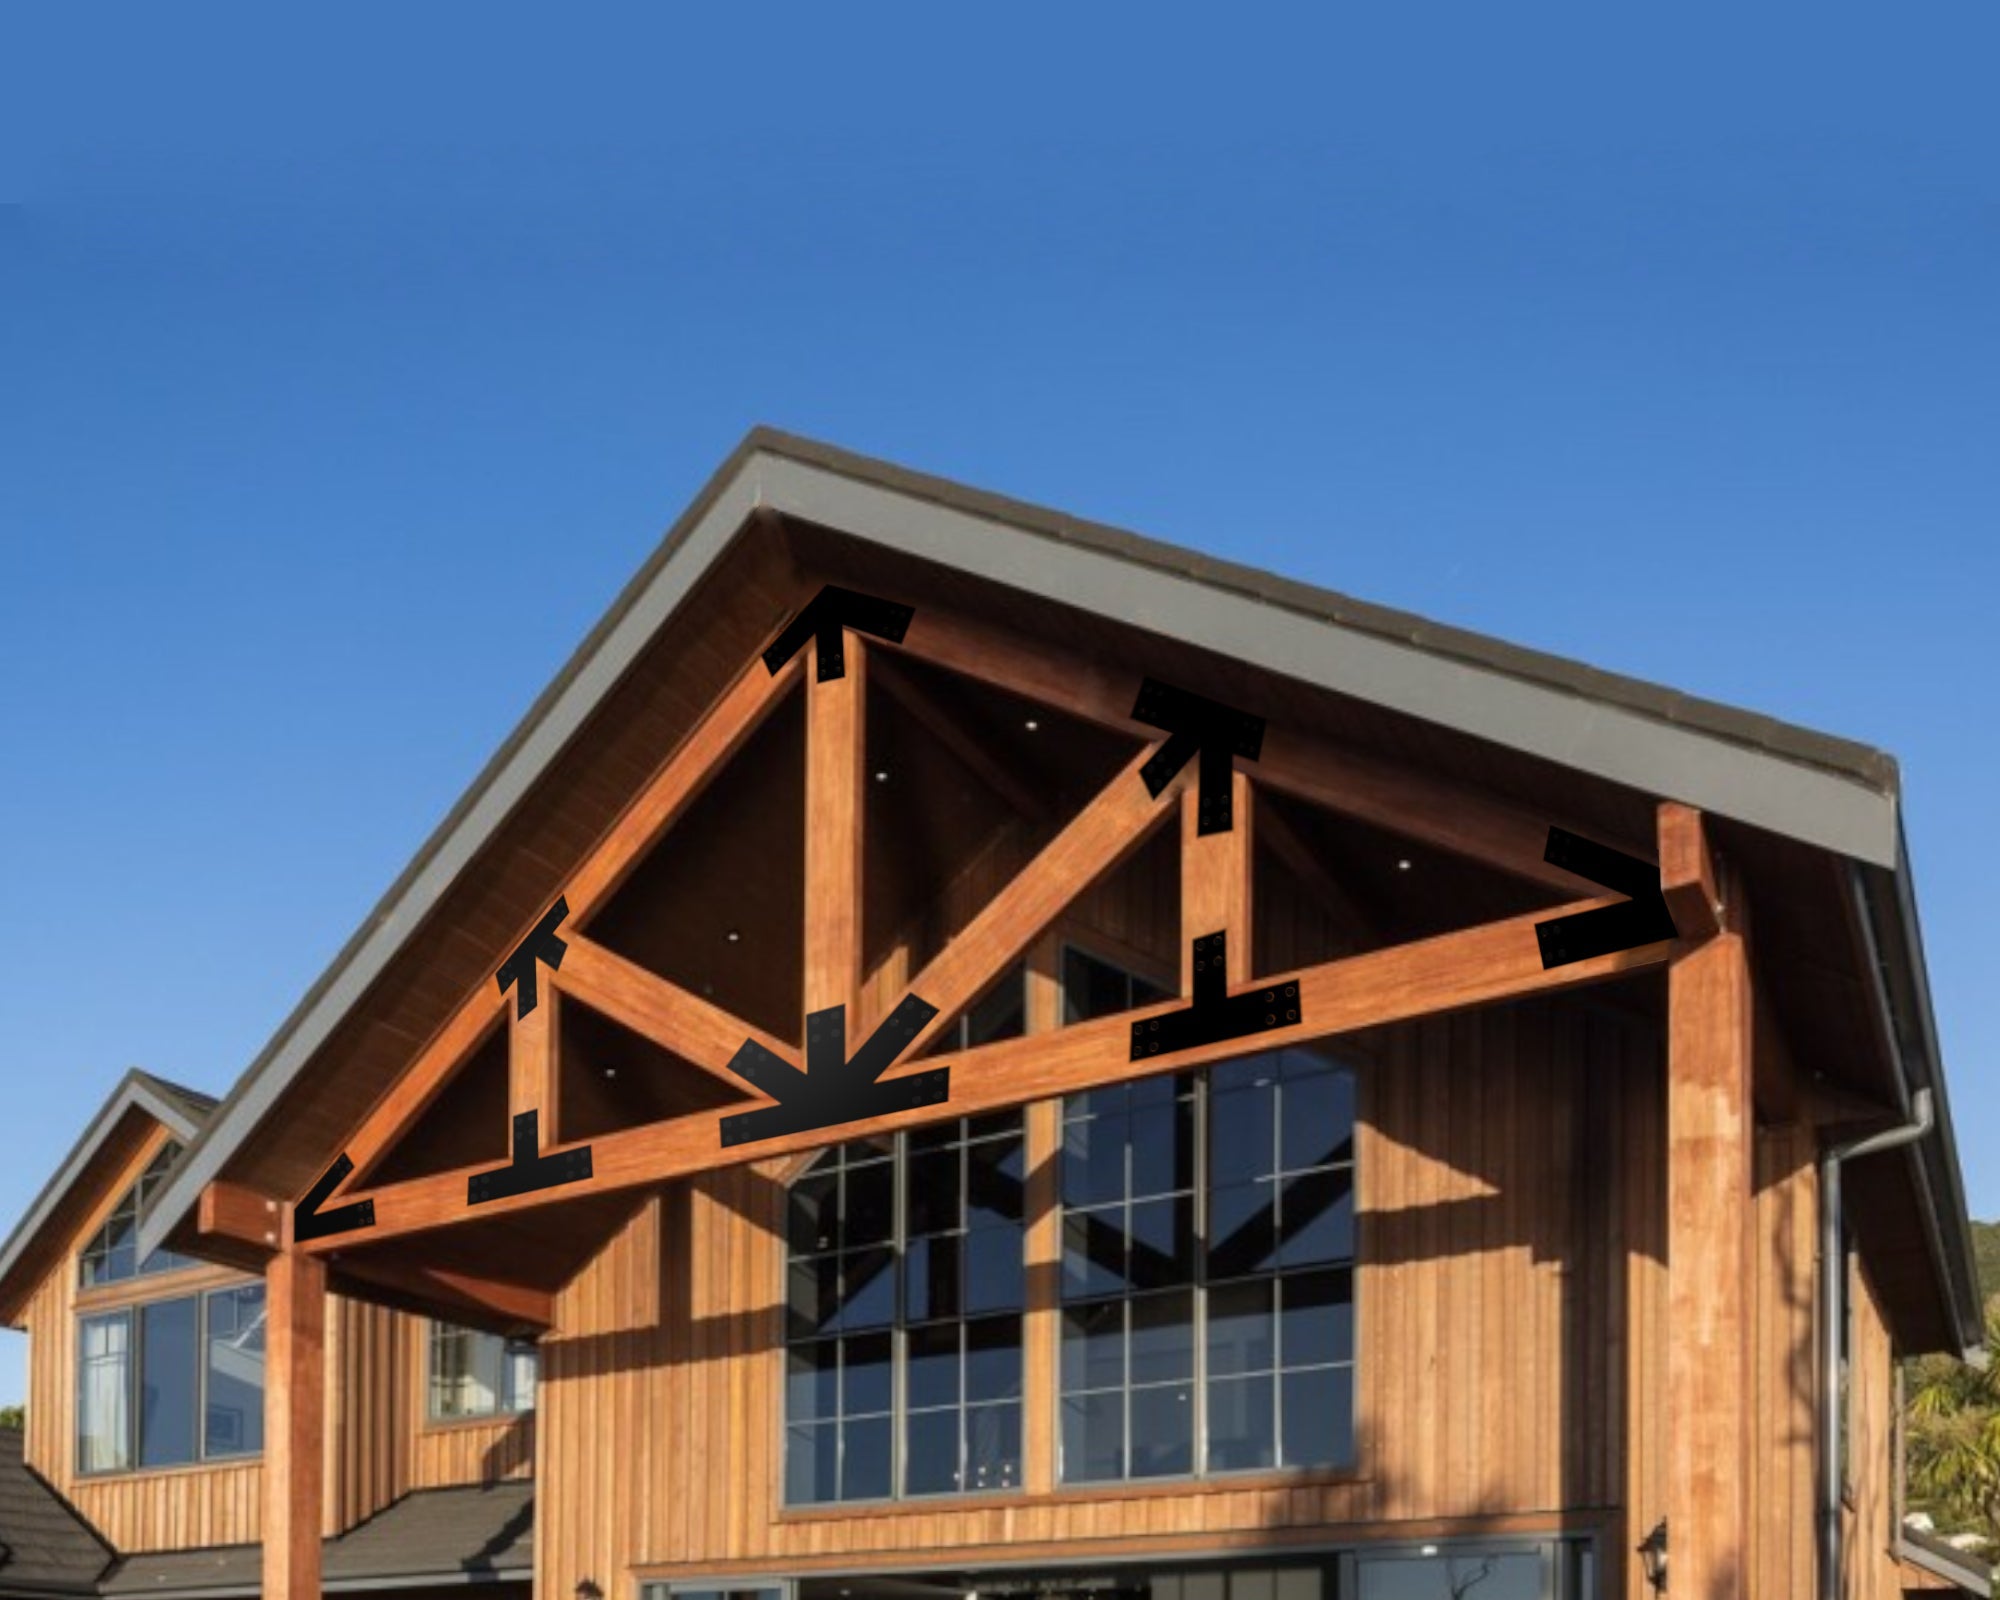
GABLE PLATES
GABLE PLATES
It can be hard to find a gable bracket that fits your needs. Instead, customize one with our unique process!
Industrial Style
Industrial Style
Our most popular style of bracket. Adds a very "modern-industrial" look to any project while adding a whole lot of support!
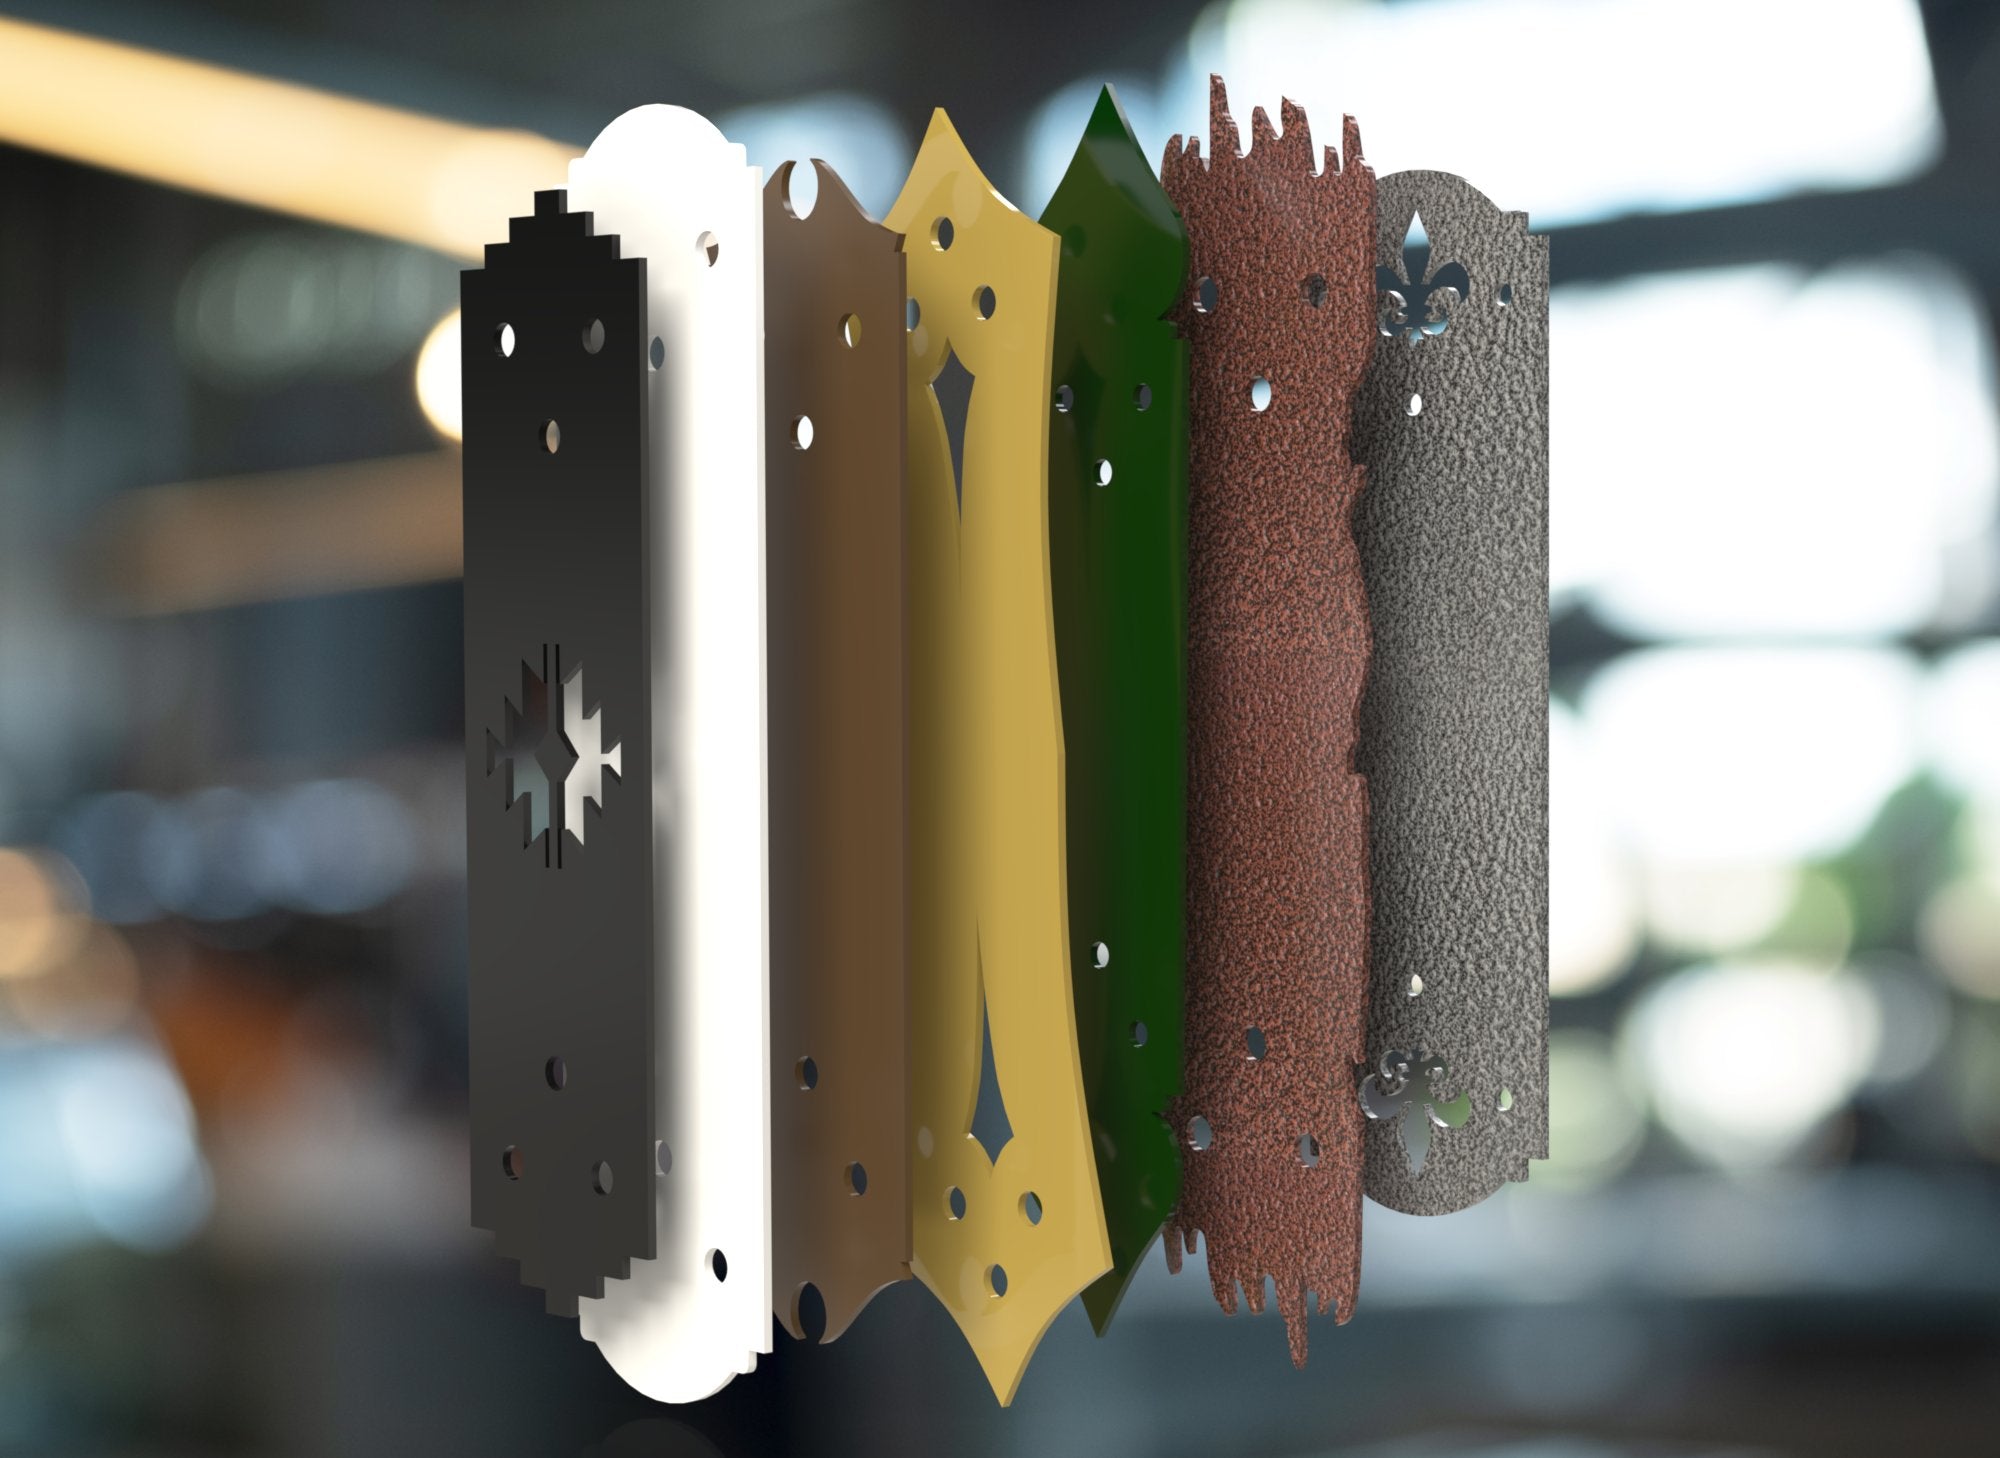
DECORATIVE BRACKETS
DECORATIVE BRACKETS
For a unique touch, add some of our decorative brackets to the mix!
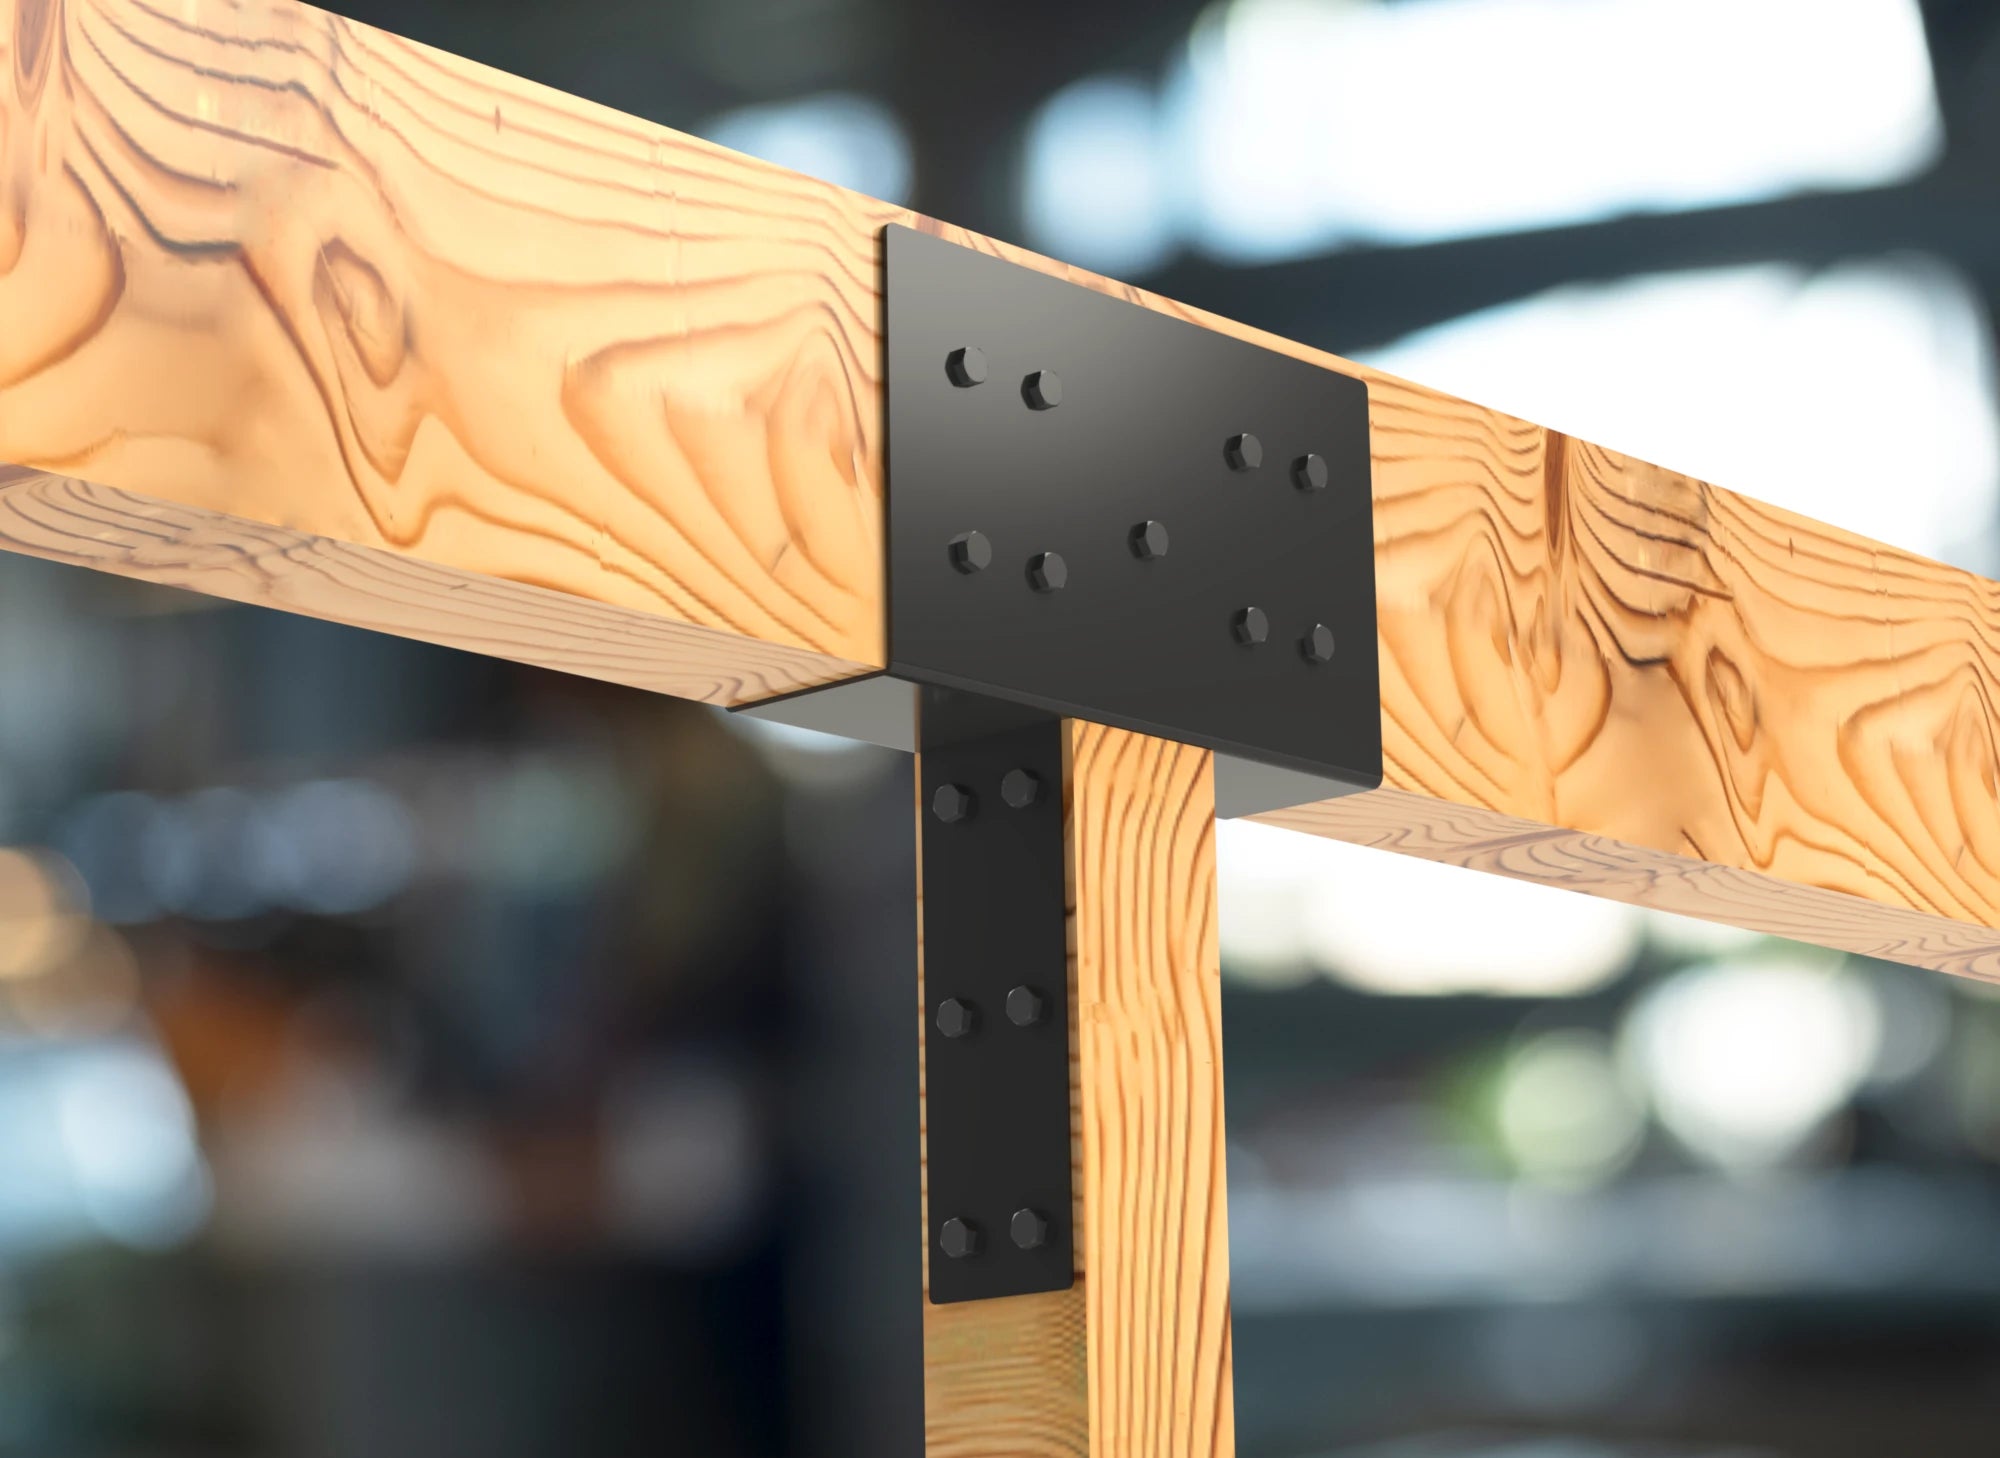
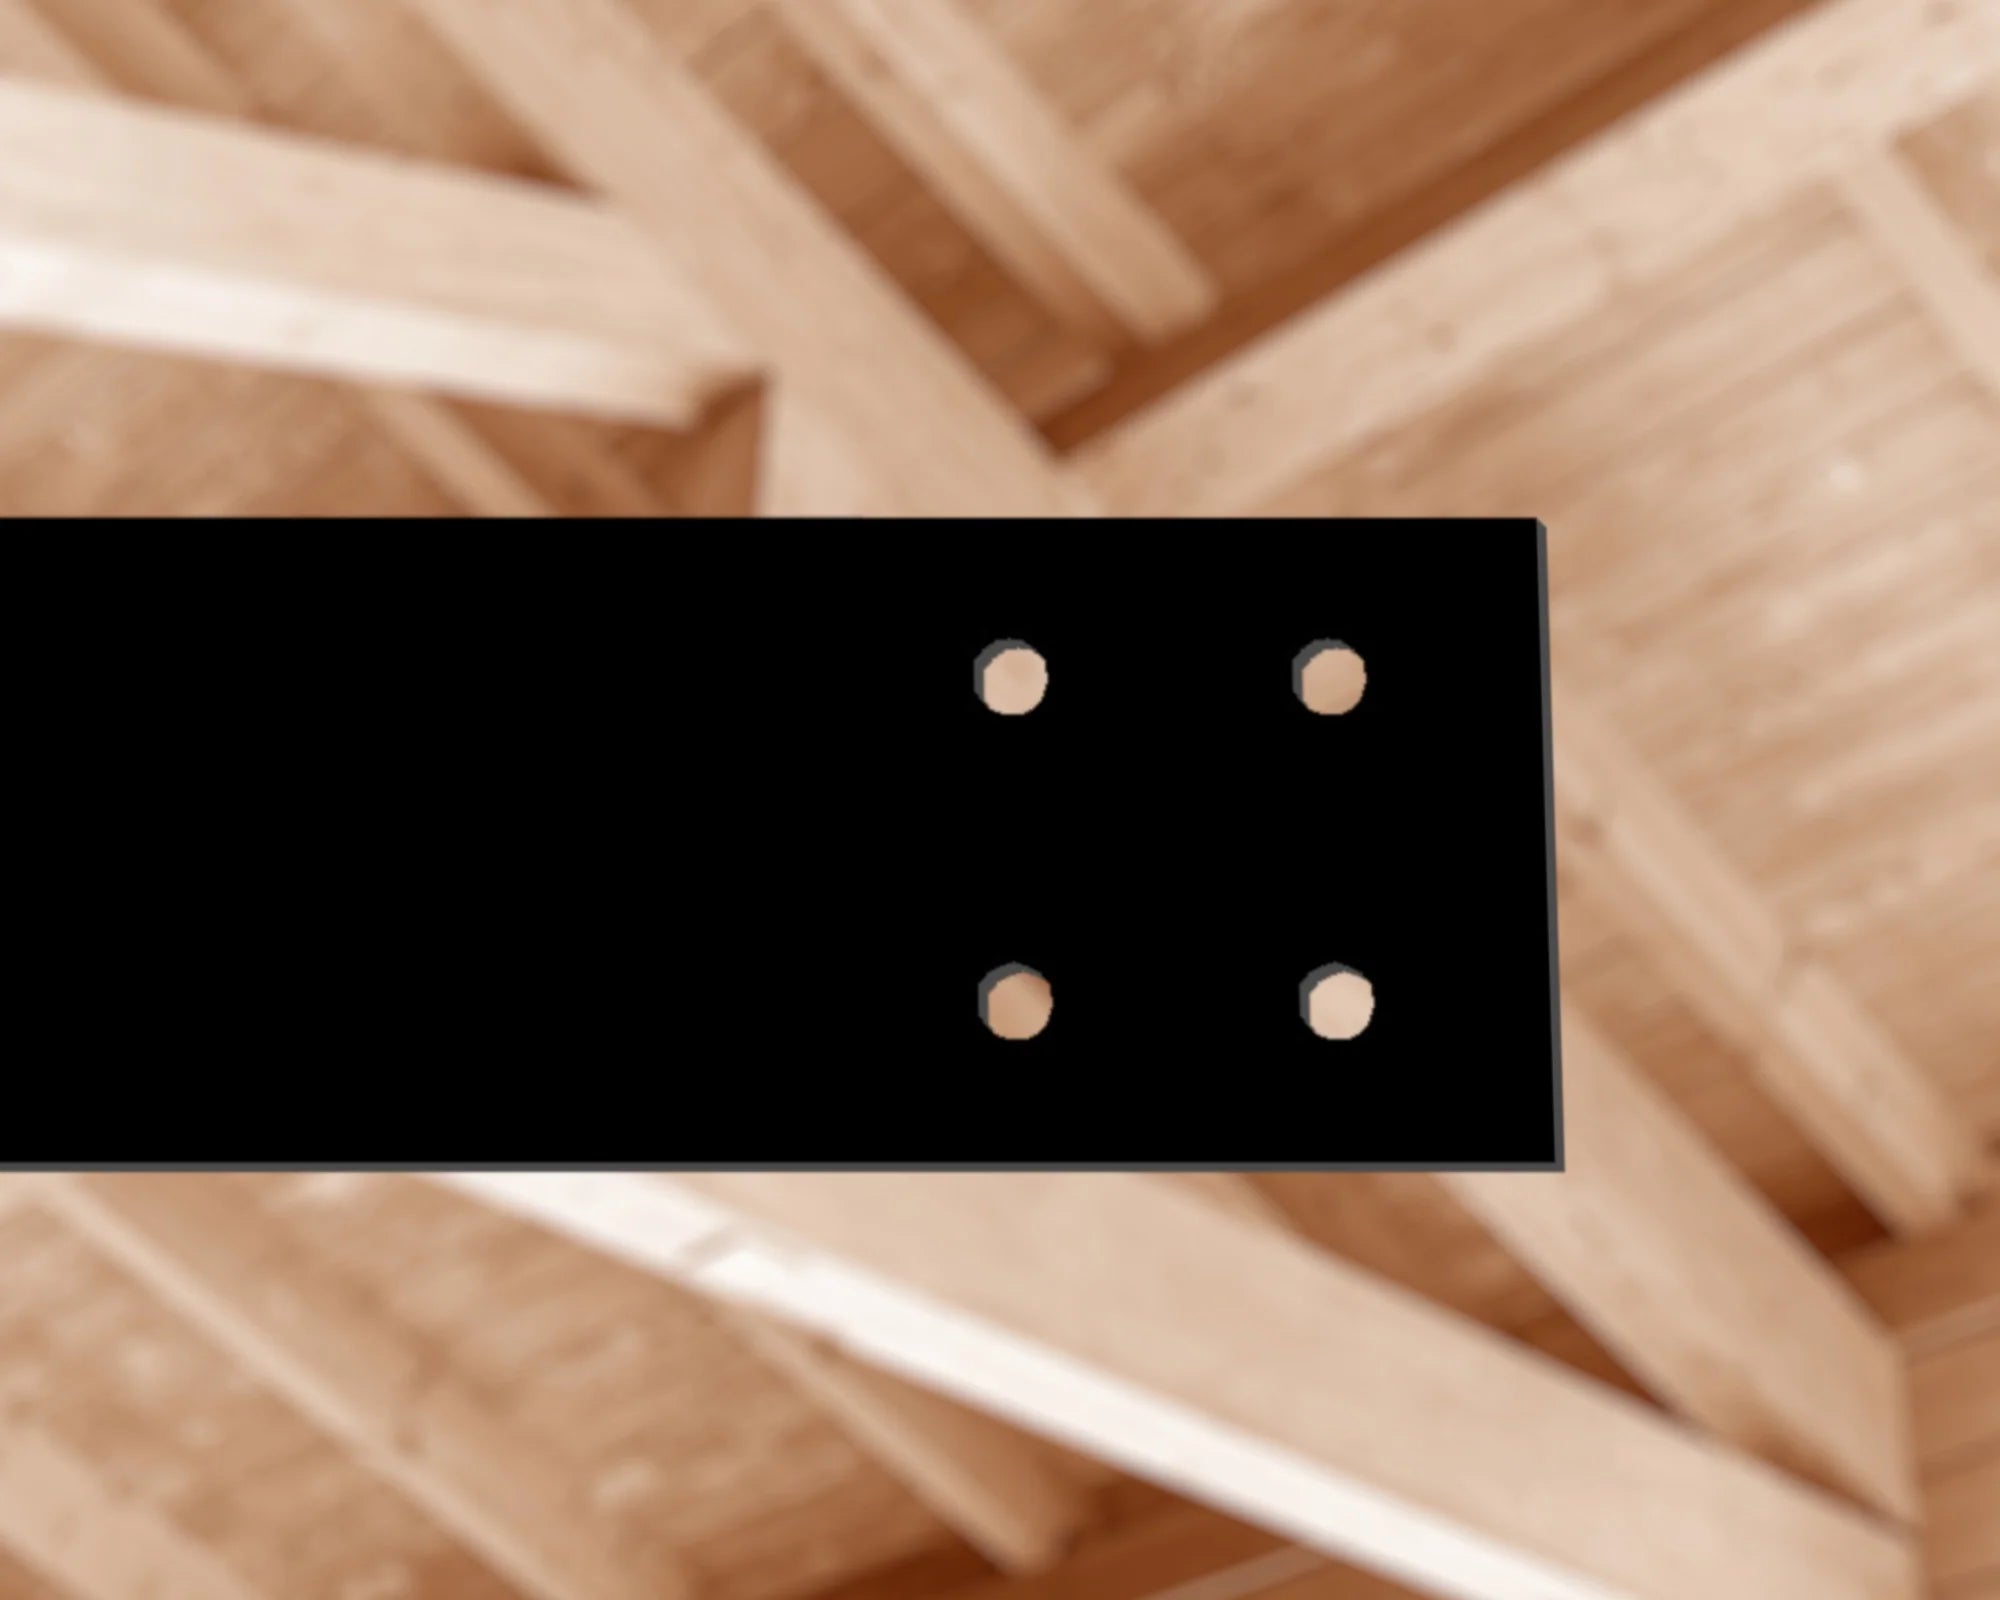
BEAM BRACKETS
BEAM BRACKETS
Rest easy with our beam brackets supporting your lumber connections!
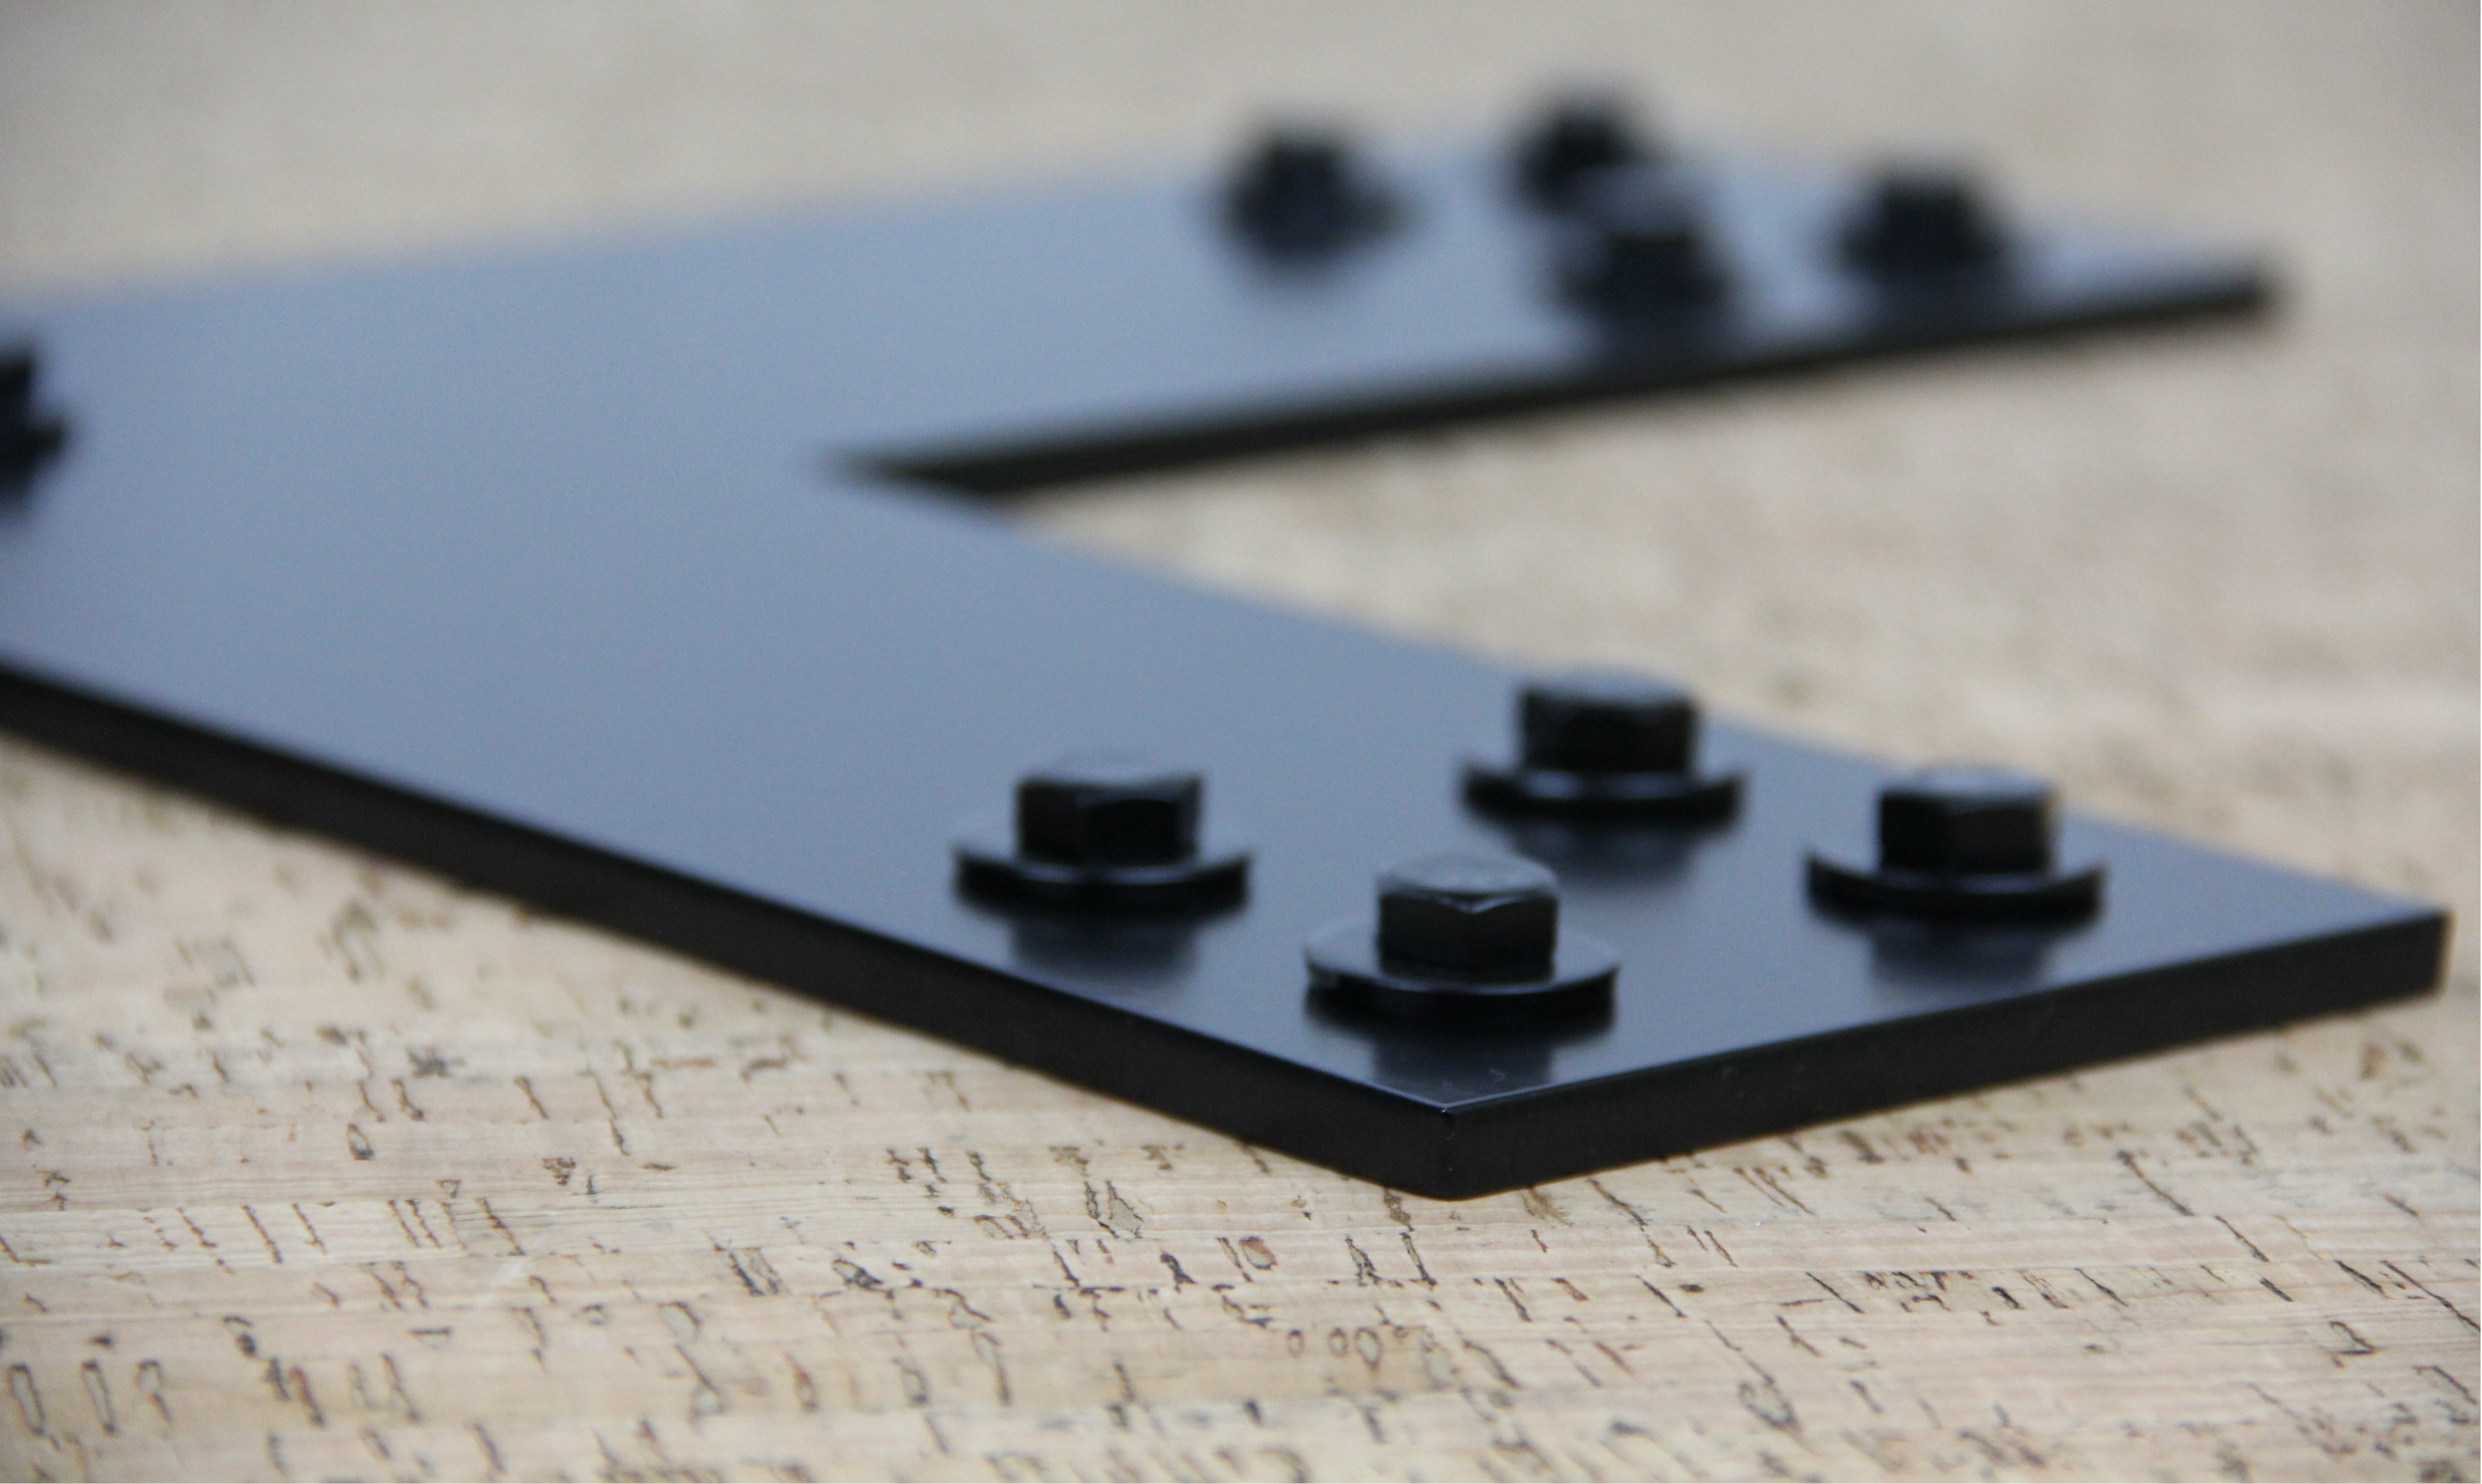
Hardware
Hardware
You are going to need hardware! Get them color matched to your brackets! (or not... we won't judge)