How To Build a Lean-to onto An Existing Building
Adding a lean-to can be a great way to increase usable space. You can use them for many different reasons, like parking card, campers, RV's, or boats. Some leave them open, but some even build walls to fully protect their contents from the elements. It’s important to plan carefully as there are many things that can cause an easy addition to become a nightmare. Here’s a general step-by-step guide to help you get started:
Disclaimer: I’m not a licensed contractor or engineer—this is a general overview. For your specific project, consulting with a professional will ensure safety, durability, and most importantly code compliance.
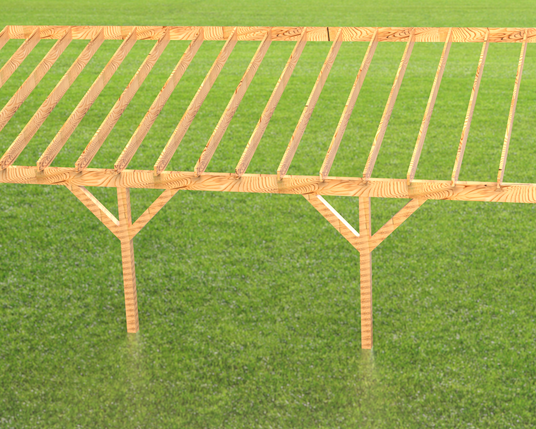
Plan & Design
Assess Your Needs: Determine the purpose of the lean-to (storage, extra room, shade, etc.) and how it will integrate with your existing building.
- Like I mentioned earlier, people park all different things in lean-tos. If you plan on storing something larger like a boat or RV, you should make the roof much taller than you would if you are just going to park some cars.
Sketch a Design: Consider dimensions, roof slope (for proper drainage), and overall style. A good design will naturally blend with your current structure.
- If you are in a climate that gets a lot of snow, it is crucial that you look up snow load information for your area. Most likely there will be local codes that requires a minimum roof pitch.
Apply for Building Permit: Most towns or counties in the United States will require a building permit before you start construction on any new addition.
- You cannot skip this step. Your construction can be suspended, and possible fines can be thrown at you. If you are unsure if your town/county requires a permit, go to your town hall and ask.
Consult Local Codes: Check with your local building department for permits and code requirements. Every area has different rules regarding setbacks, structural integrity, and materials.
- I strongly encourage you to consult with a local contractor or structural engineer if you are not familiar with local codes.
- Your build could possibly be suspended if your building doesn't meat code.
Evaluate the Existing Structure
Structural Integrity: Ensure the wall you plan to attach the lean-to to is load-bearing or can be reinforced. This is critical for safely supporting the new addition.
- Most likely all exterior walls will be loading bearing, but there is a few ways to check.
- The wall is wider than other walls, specifically interior walls.
- If you are able to see the construction of the wall, make sure all posts or load bearing columns are in direct contact with the foundation or floor joists.
- If accessible, check the blueprints of the building.
- If you are still unsure, don't just skip this step. This could possibly cause a ton of damage. Consult with a structural engineer, or someone familiar with the construction of your building.
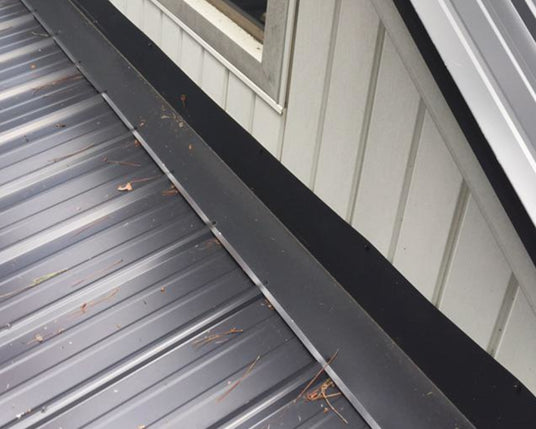
Integration Points: Plan how the lean-to will connect to the building. This includes designing proper flashing, anchoring, and weatherproofing to prevent leaks.
- There are many different ways to do this, and it mostly depends on your roof material and existing building materials.
- The images below are for a metal siding to metal roof as this is the most common lean-to material.
- All flashing and trim should be available at the same location you get your roofing materials.
Foundation & Support
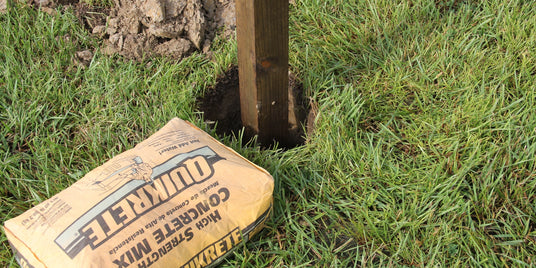
Footings: You will need to pour new concrete footings. The size and depth will depend on your local soil conditions and building codes.
- It is most important to dig far enough down that the concrete is below the freeze line. If you live in cold climate states, this will be fairly deep (2-5 feet deep, sometimes more).
Support Posts/Beams: Depending on the span and design, additional posts or beams might be required to support the lean-to roof. Use materials rated for outdoor use and ensure they’re properly anchored.
- The most common installation would be to set the posts before concrete is poured, but it is possible to use foot brackets to secure the post to the concrete. (Foot Brackets Available Here)
Construction
Framing: Use quality, weather-resistant lumber (or steel if needed) to build the frame. Ensure that your framing matches the slope needed for proper water runoff.
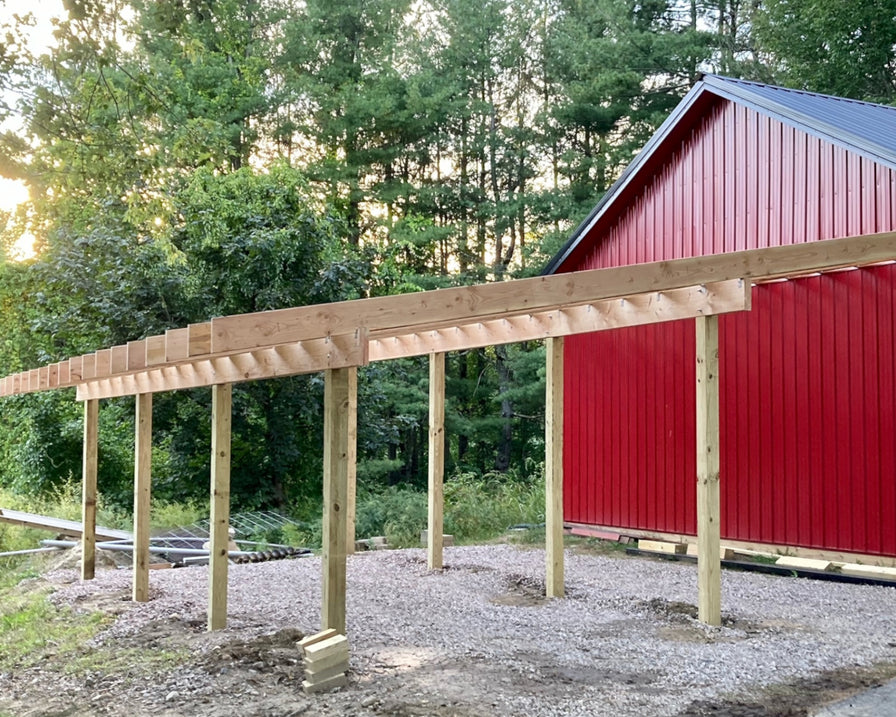
- It is a good idea to use brackets for your build. Use the diagram below to see which brackets should be used for this specific application.
Roofing: Choose roofing materials that complement your existing building. Proper installation is key—include drip edges and flashing to direct water away from both the lean-to and the existing structure.
Recommended Brackets
Here are some of the brackets that we recommend you use for your build. Of course they are optional but they would make a much more secure build. No one wants to worry about the integrity, even 10 years down the road.
Final Touches
Insulation & Finishing (if applicable): If you plan to use the lean-to as a functional space (e.g., a sunroom or storage area), consider insulation and weatherproofing. If your lean to will just be used for storage this step may be a waste. This can also be added later if you decide to convert it into a usable area.
Sealing & Painting: Protect all new wood or metal surfaces with appropriate sealants and finishes.
- This will make your building last longer and stay looking better. If using metal, ensure all bare metal is covered to prevent rusting.
Inspection: Have your work inspected to ensure it meets local building standards. This is usually required depending on your area.
_____________________________________
This approach should give you a good starting point for adding a lean-to to your existing building while keeping safety and functionality in mind.
More Brackets to Choose From
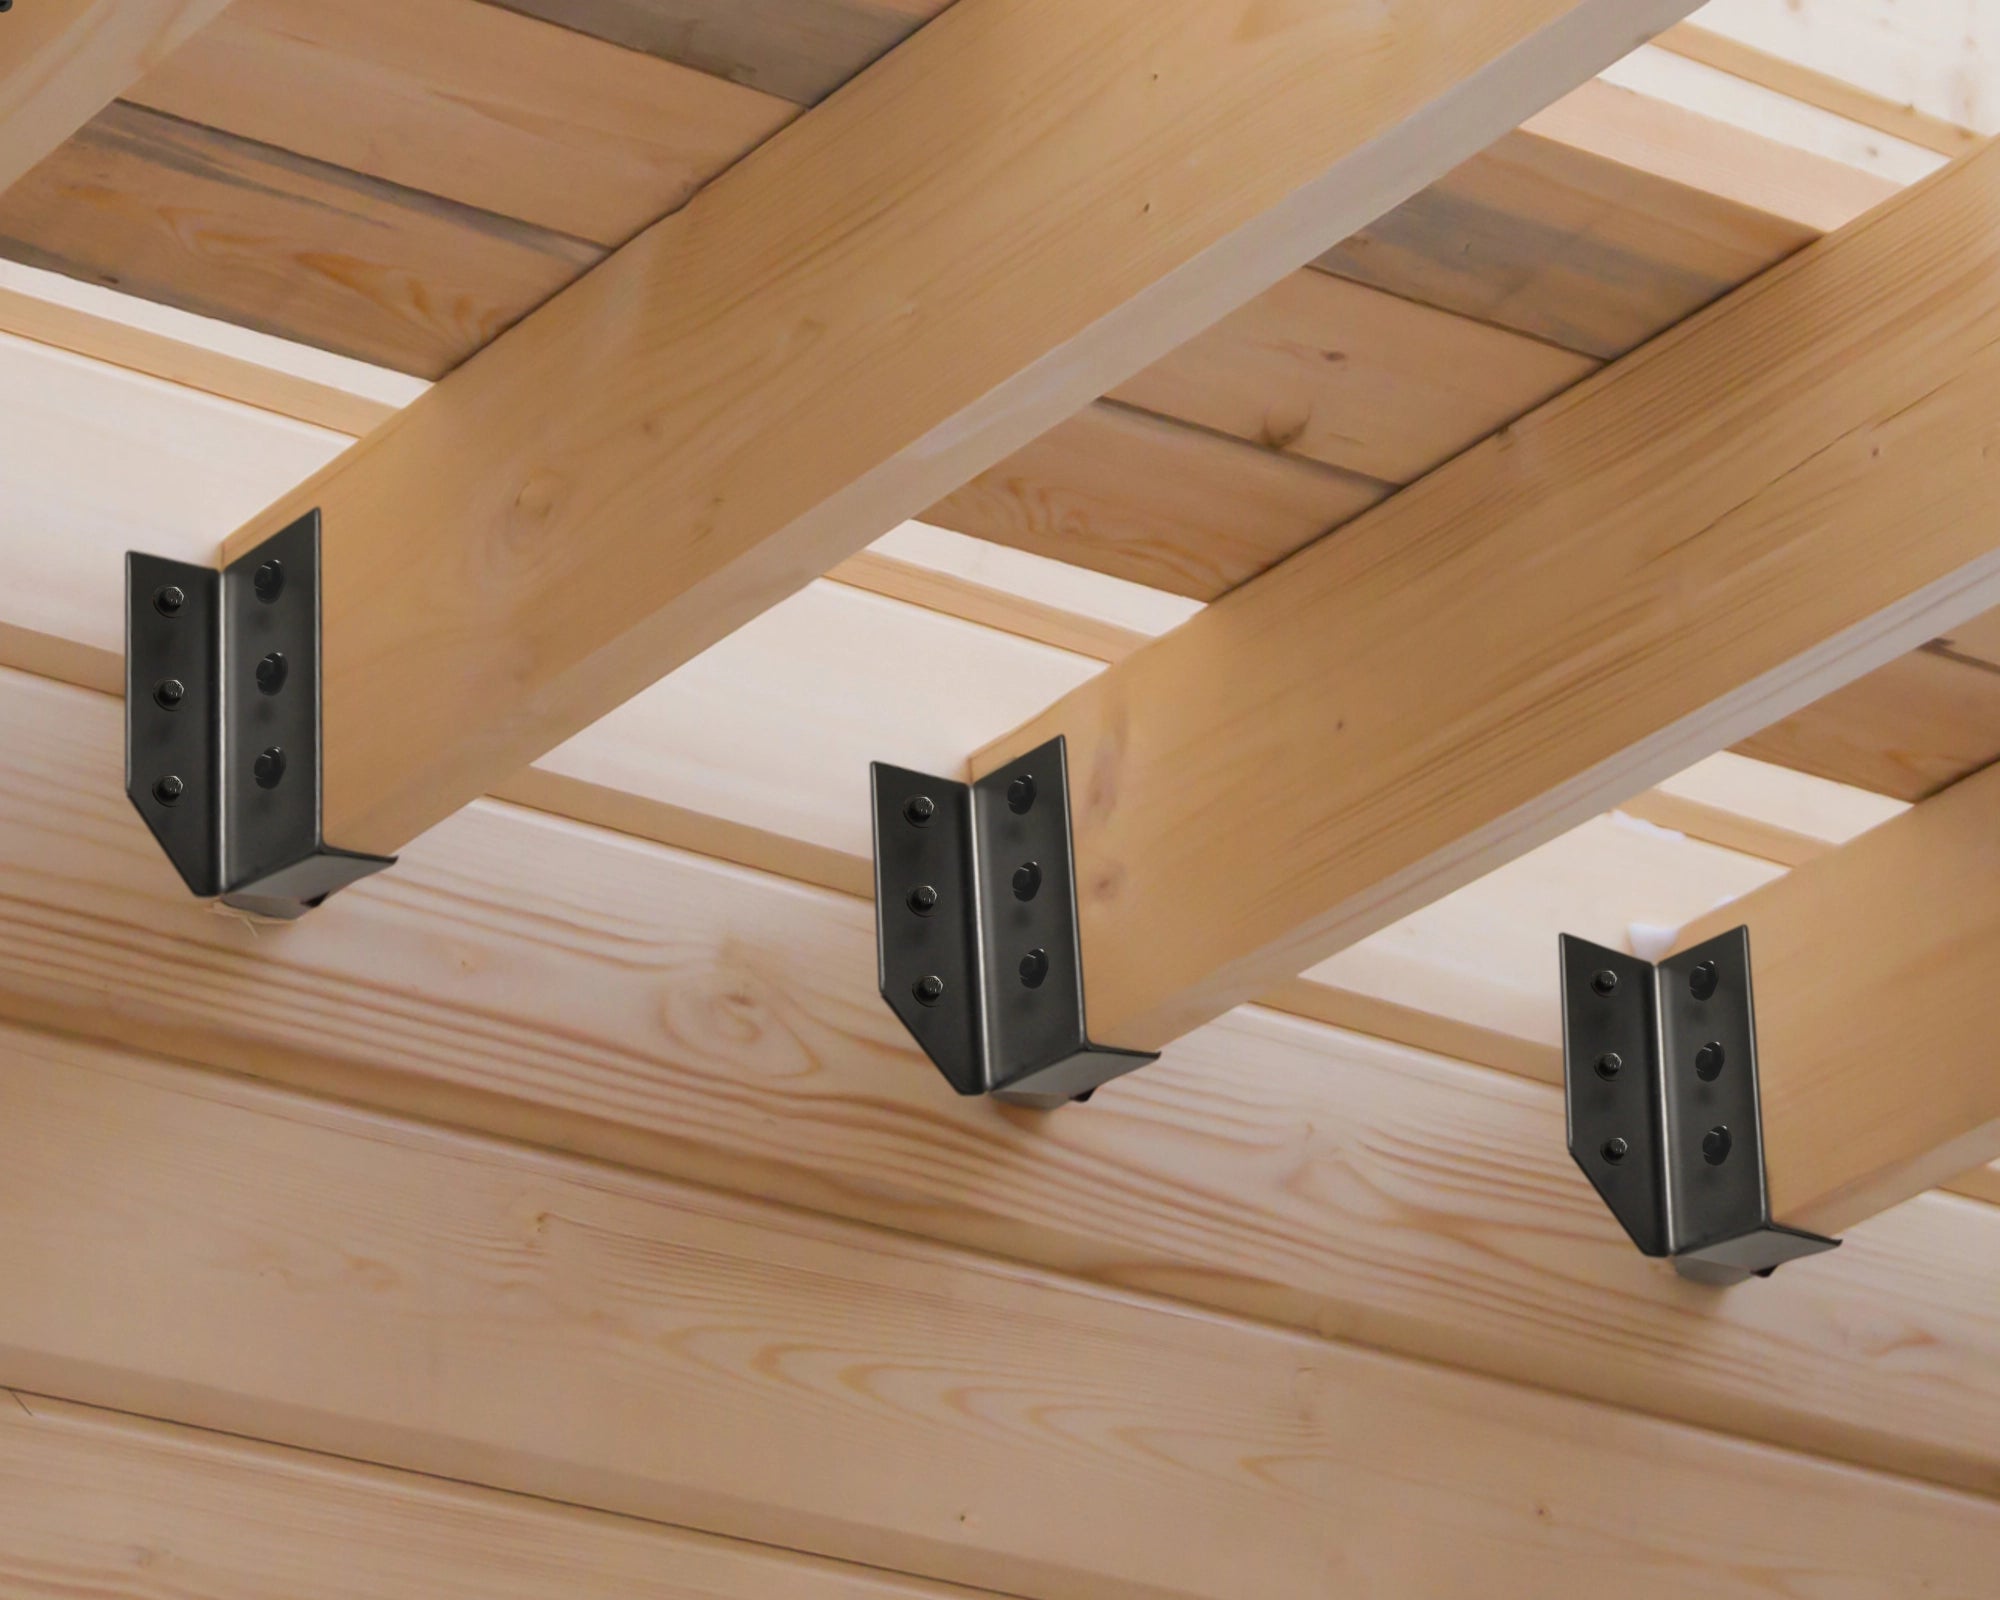
JOIST HANGERS
JOIST HANGERS
Add some support to your floor/ceiling joists with these heavy-duty joist hangers.
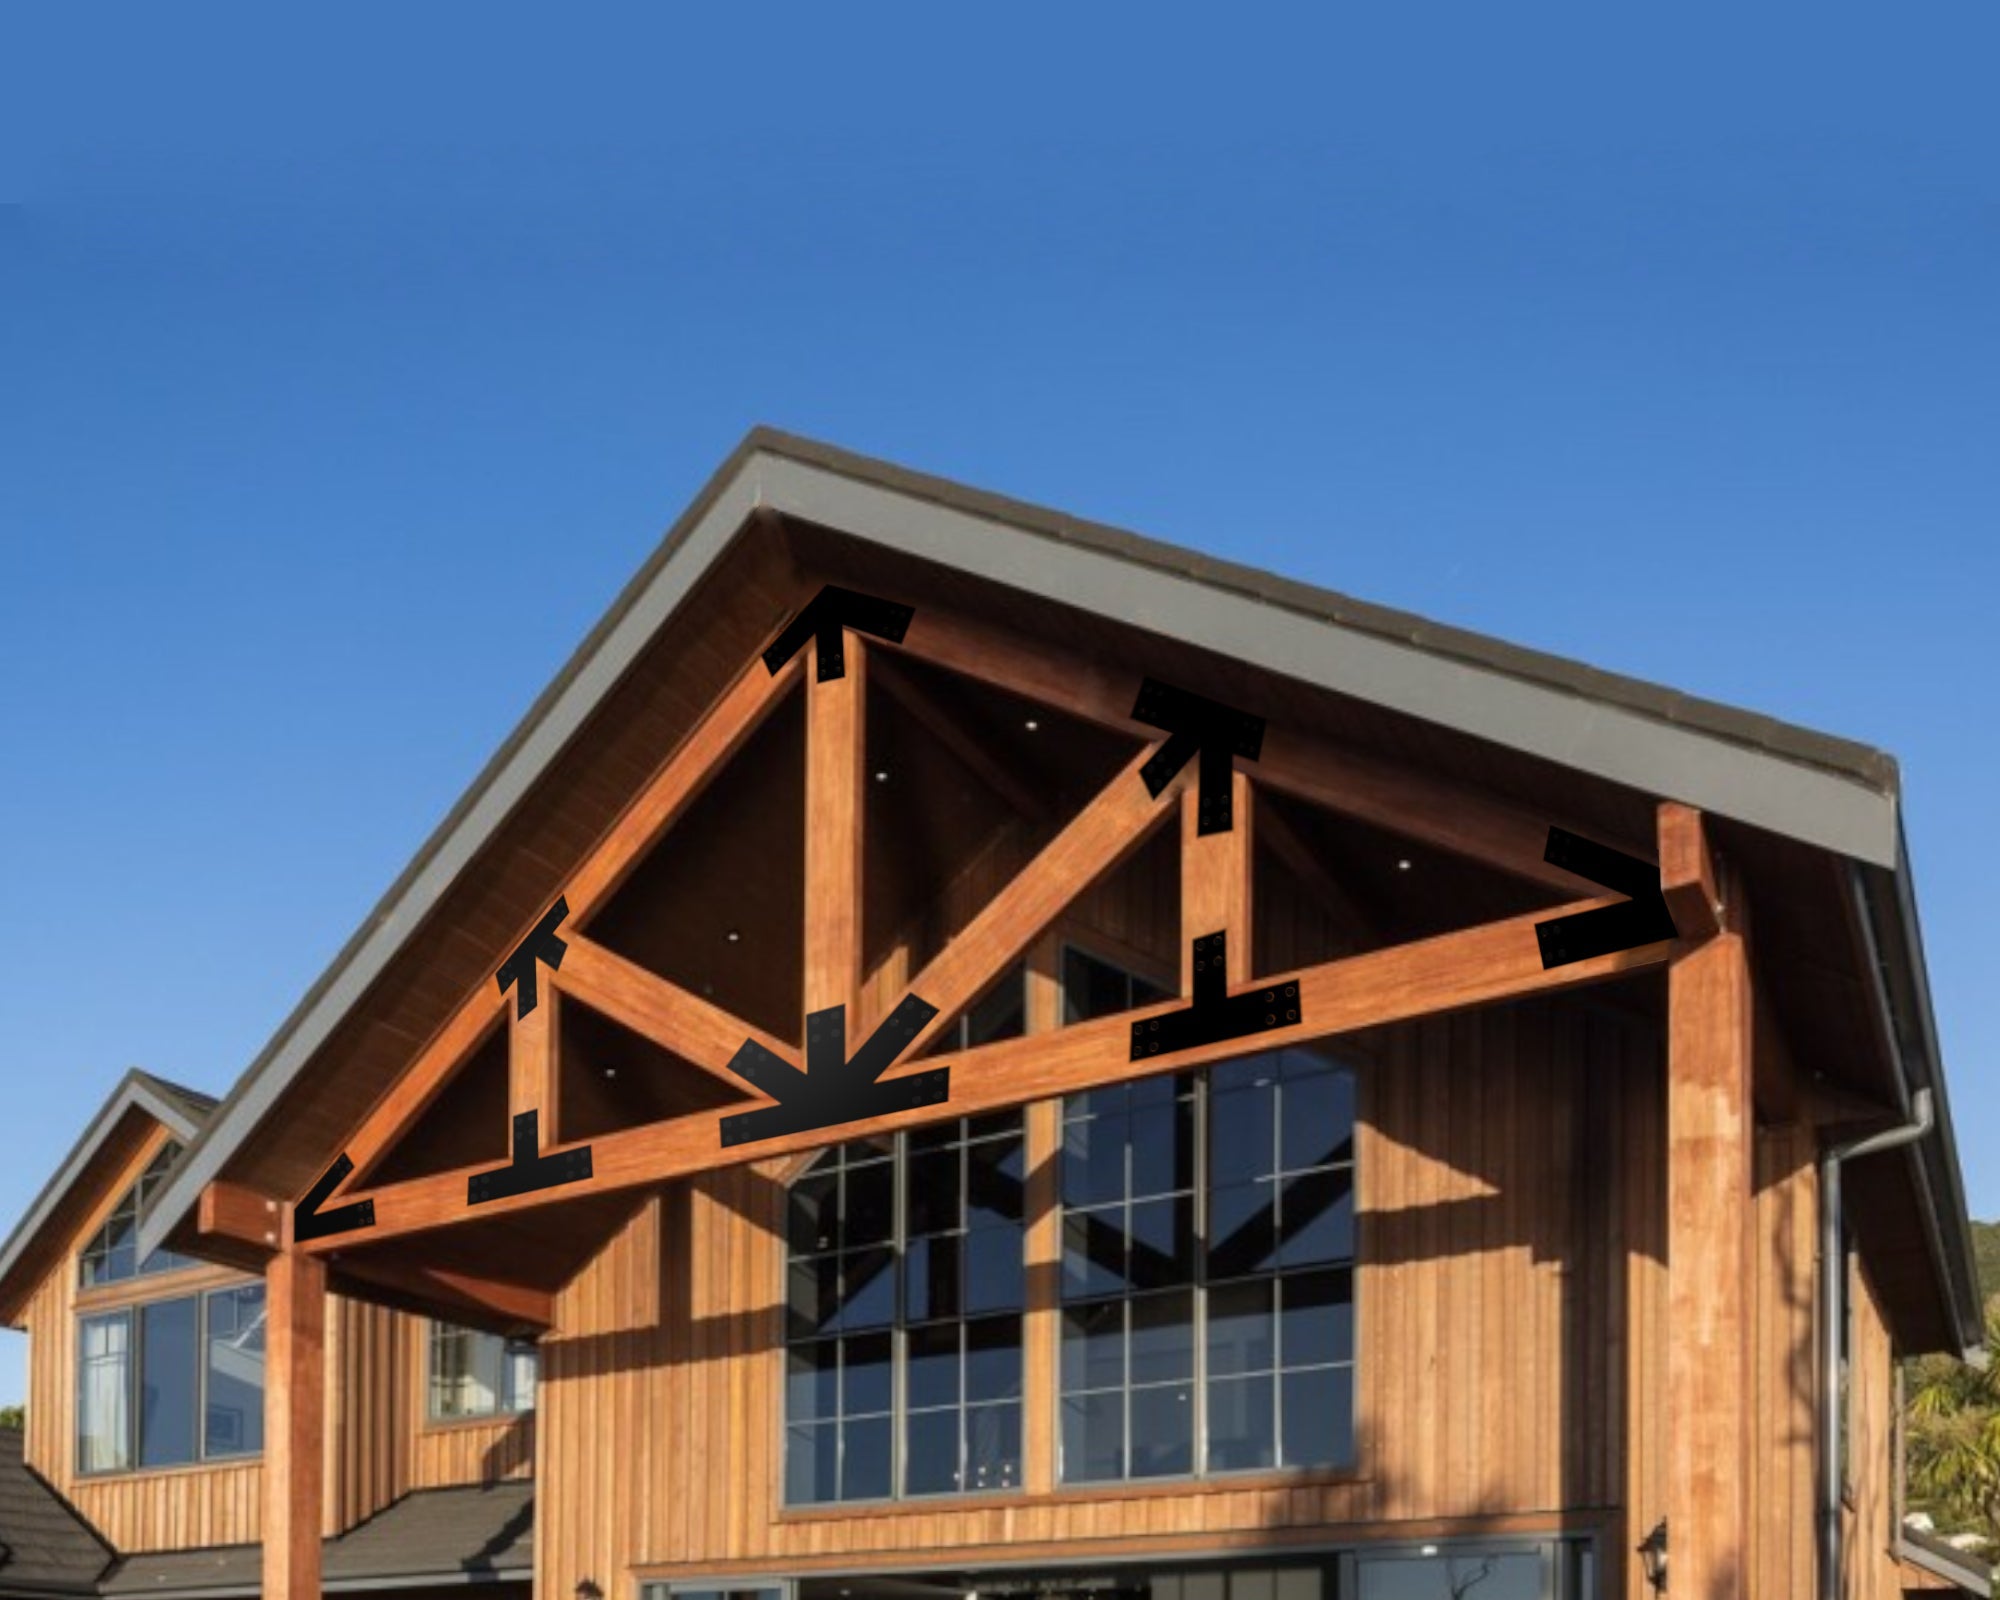
TRUSS SETS
TRUSS SETS
Outfit and support your exposed trusses with these full sets of brackets. We made it simple!
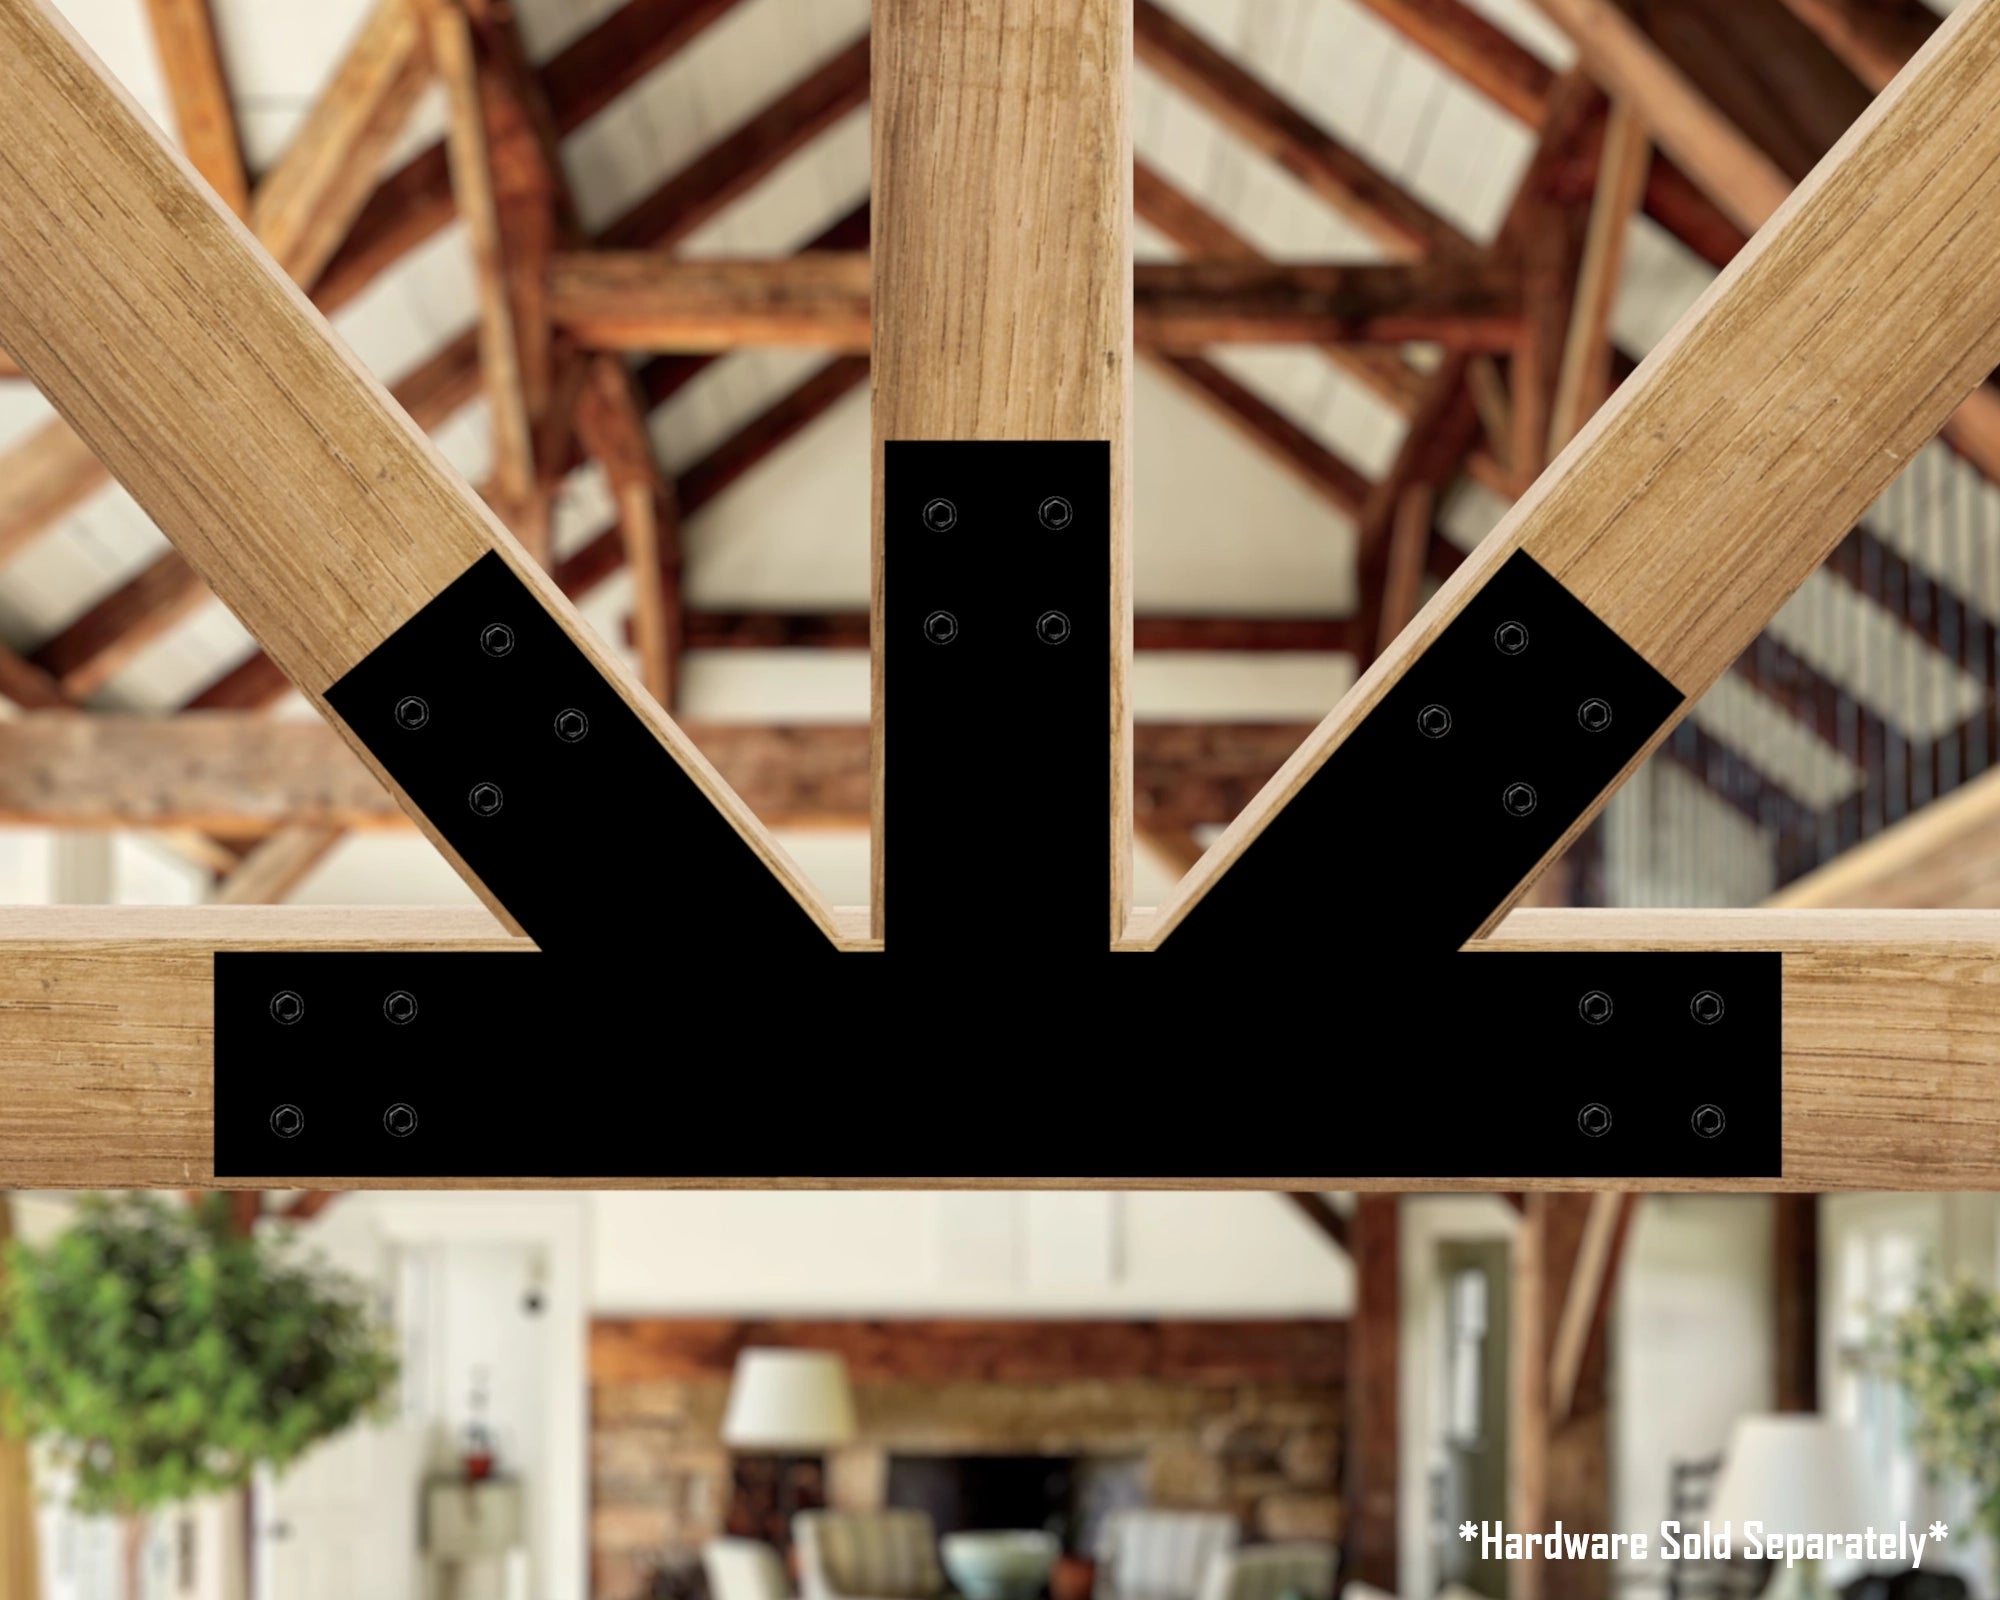
GABLE PLATES
GABLE PLATES
It can be hard to find a gable bracket that fits your needs. Instead, customize one with our unique process!
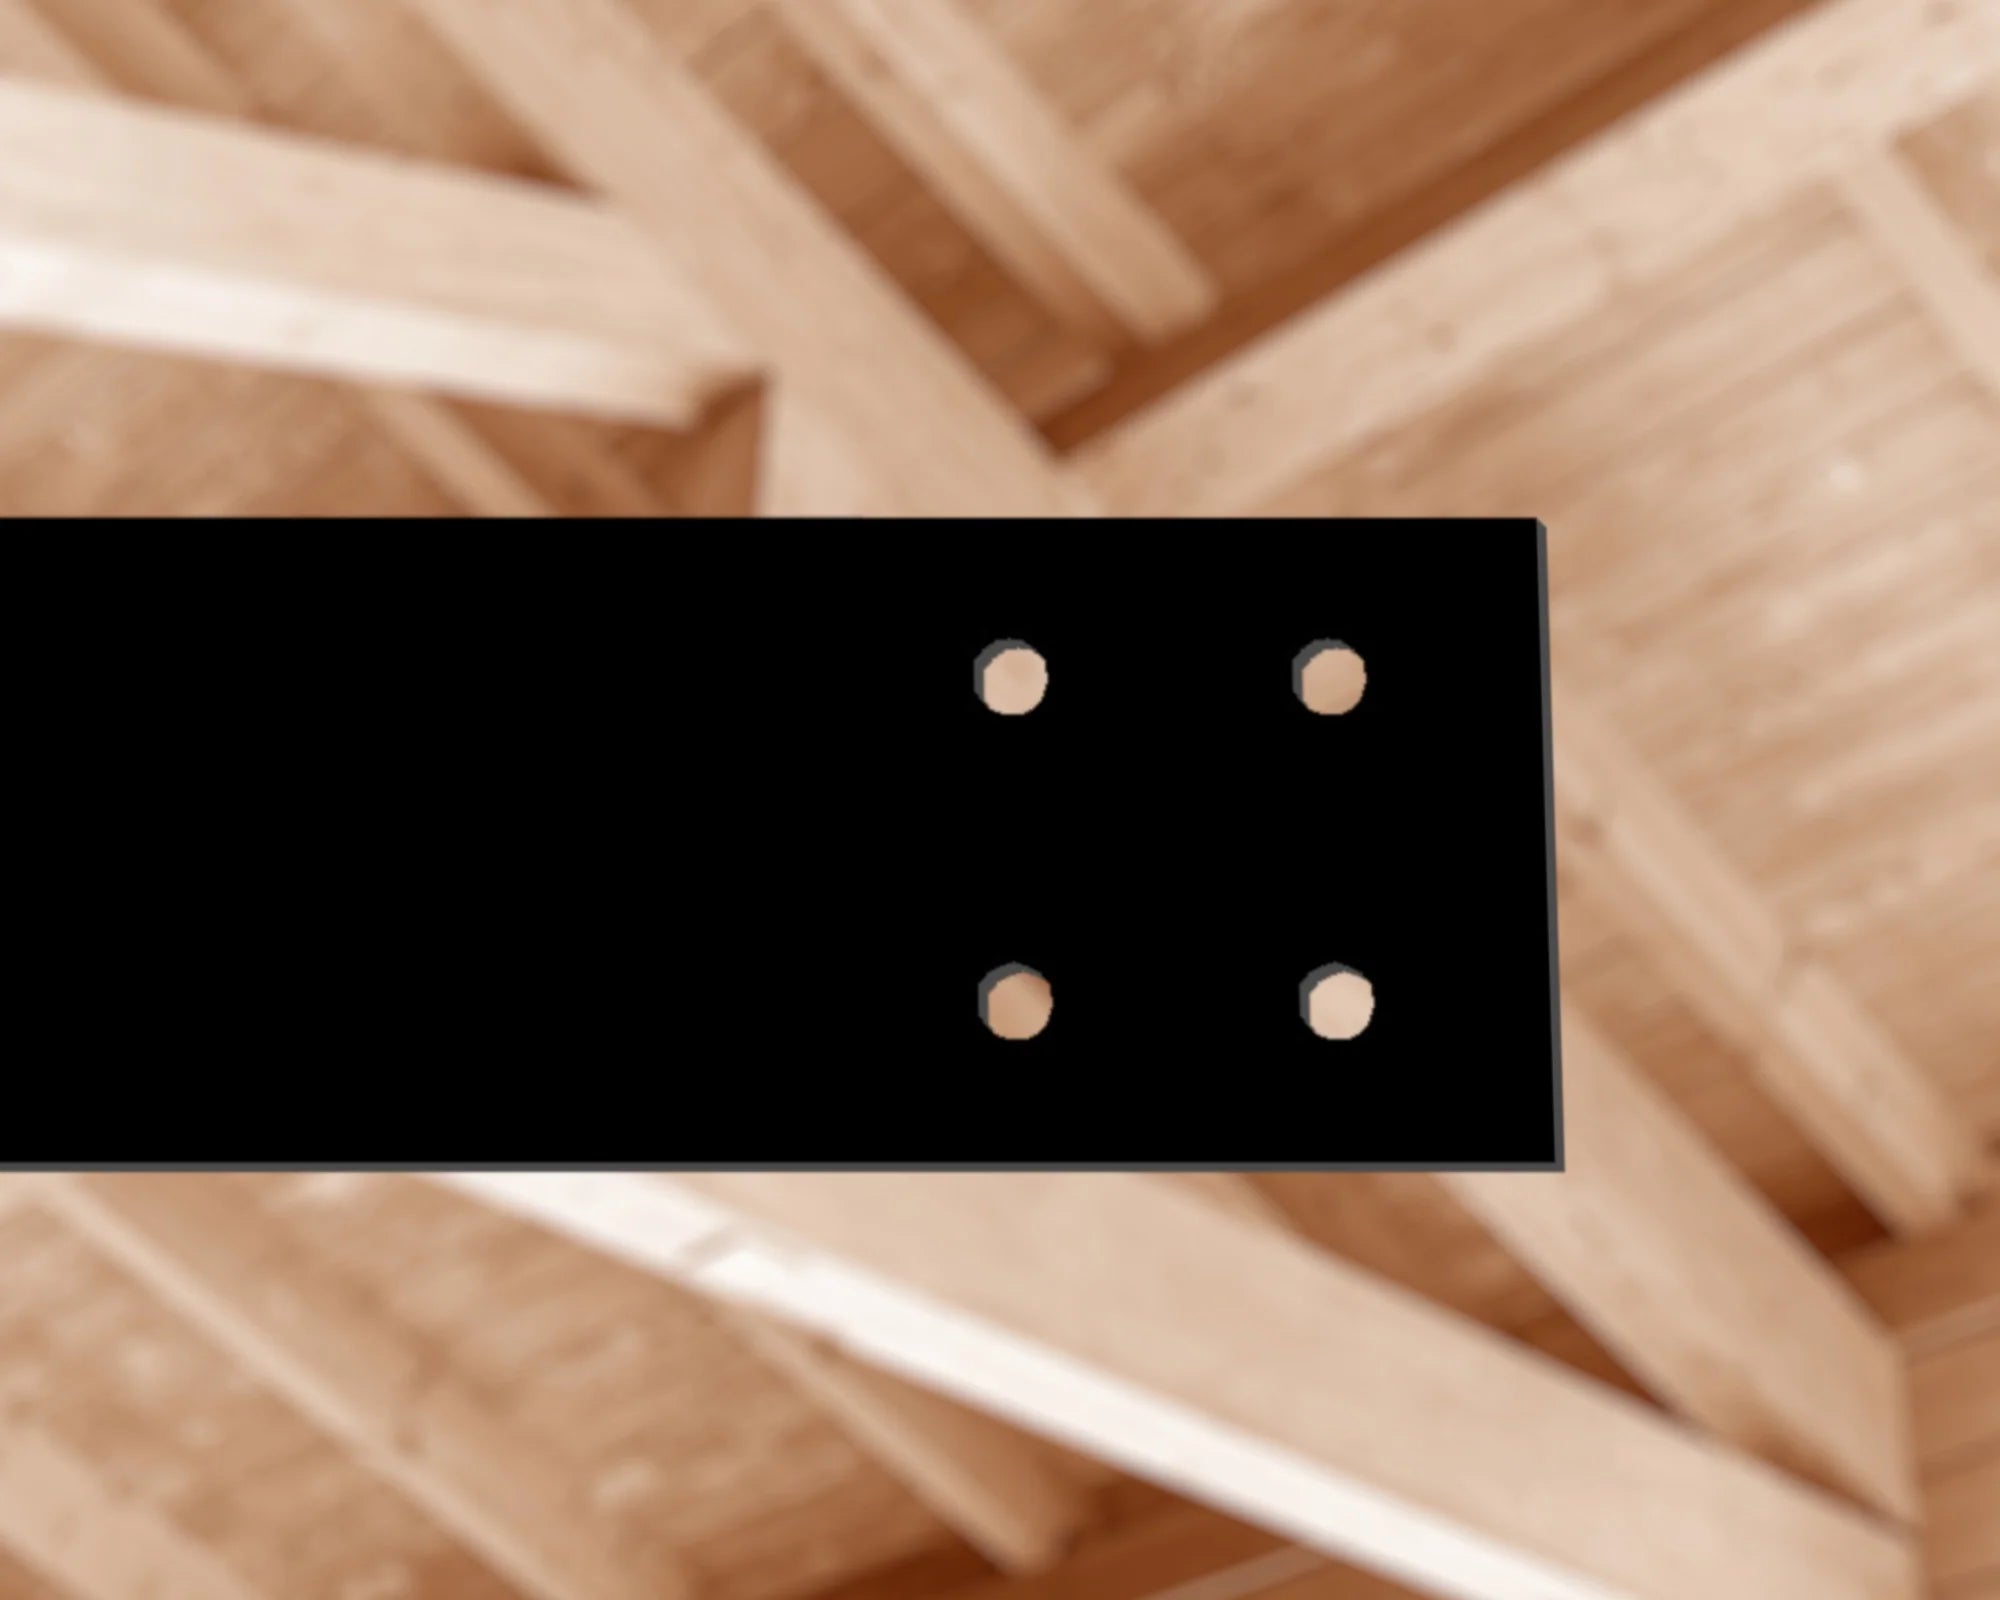
Industrial Style
Industrial Style
Our most popular style of bracket. Adds a very "modern-industrial" look to any project while adding a whole lot of support!
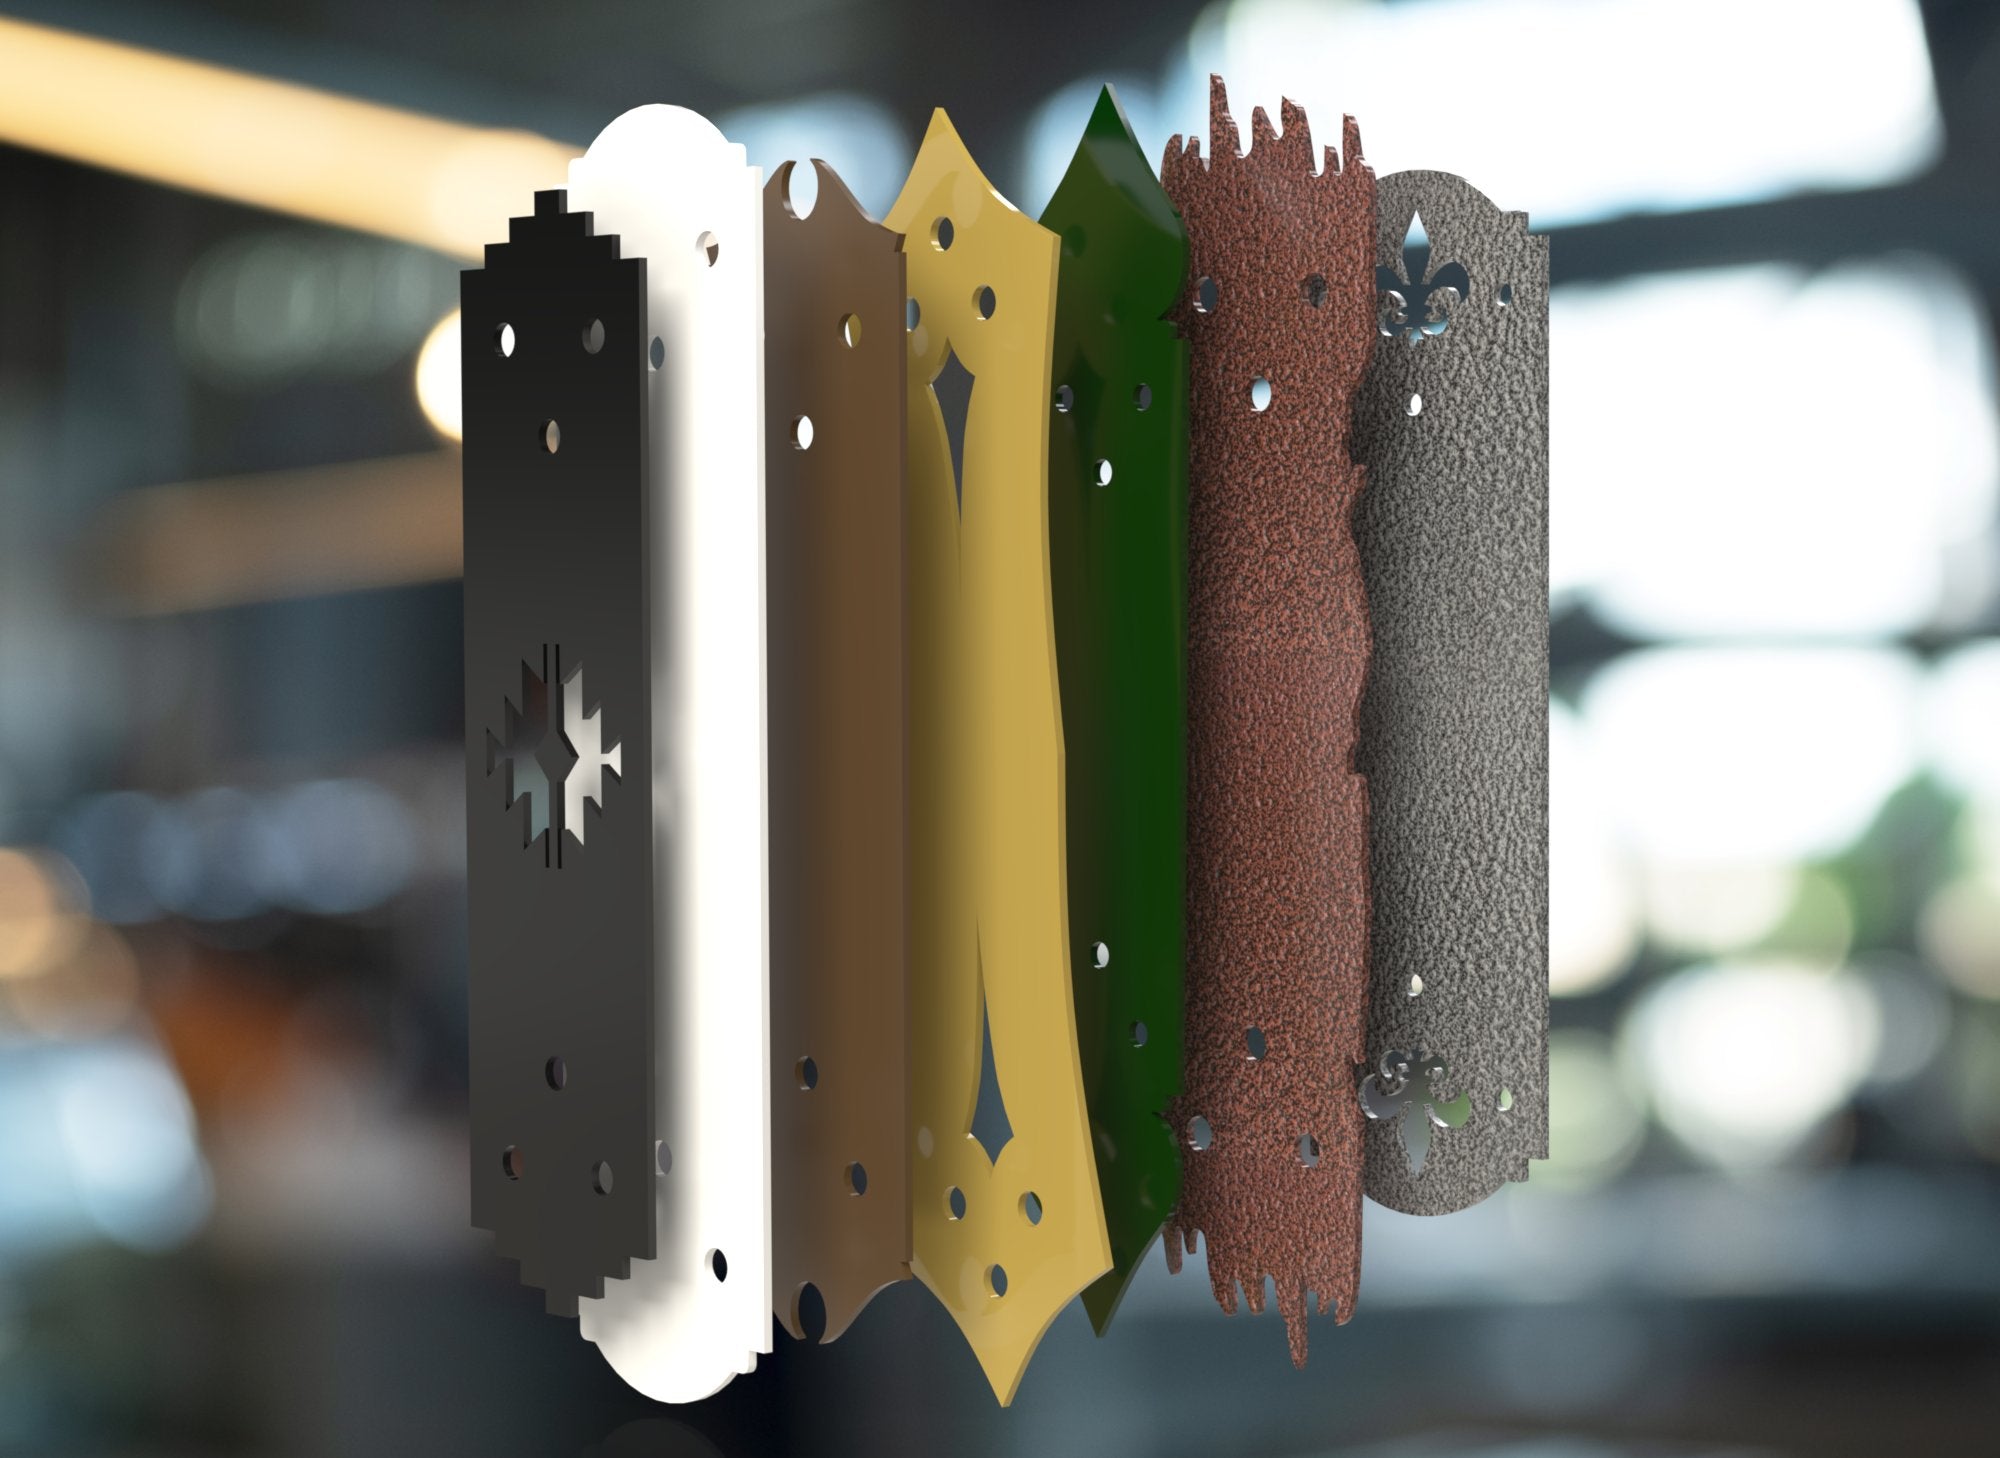
DECORATIVE BRACKETS
DECORATIVE BRACKETS
For a unique touch, add some of our decorative brackets to the mix!
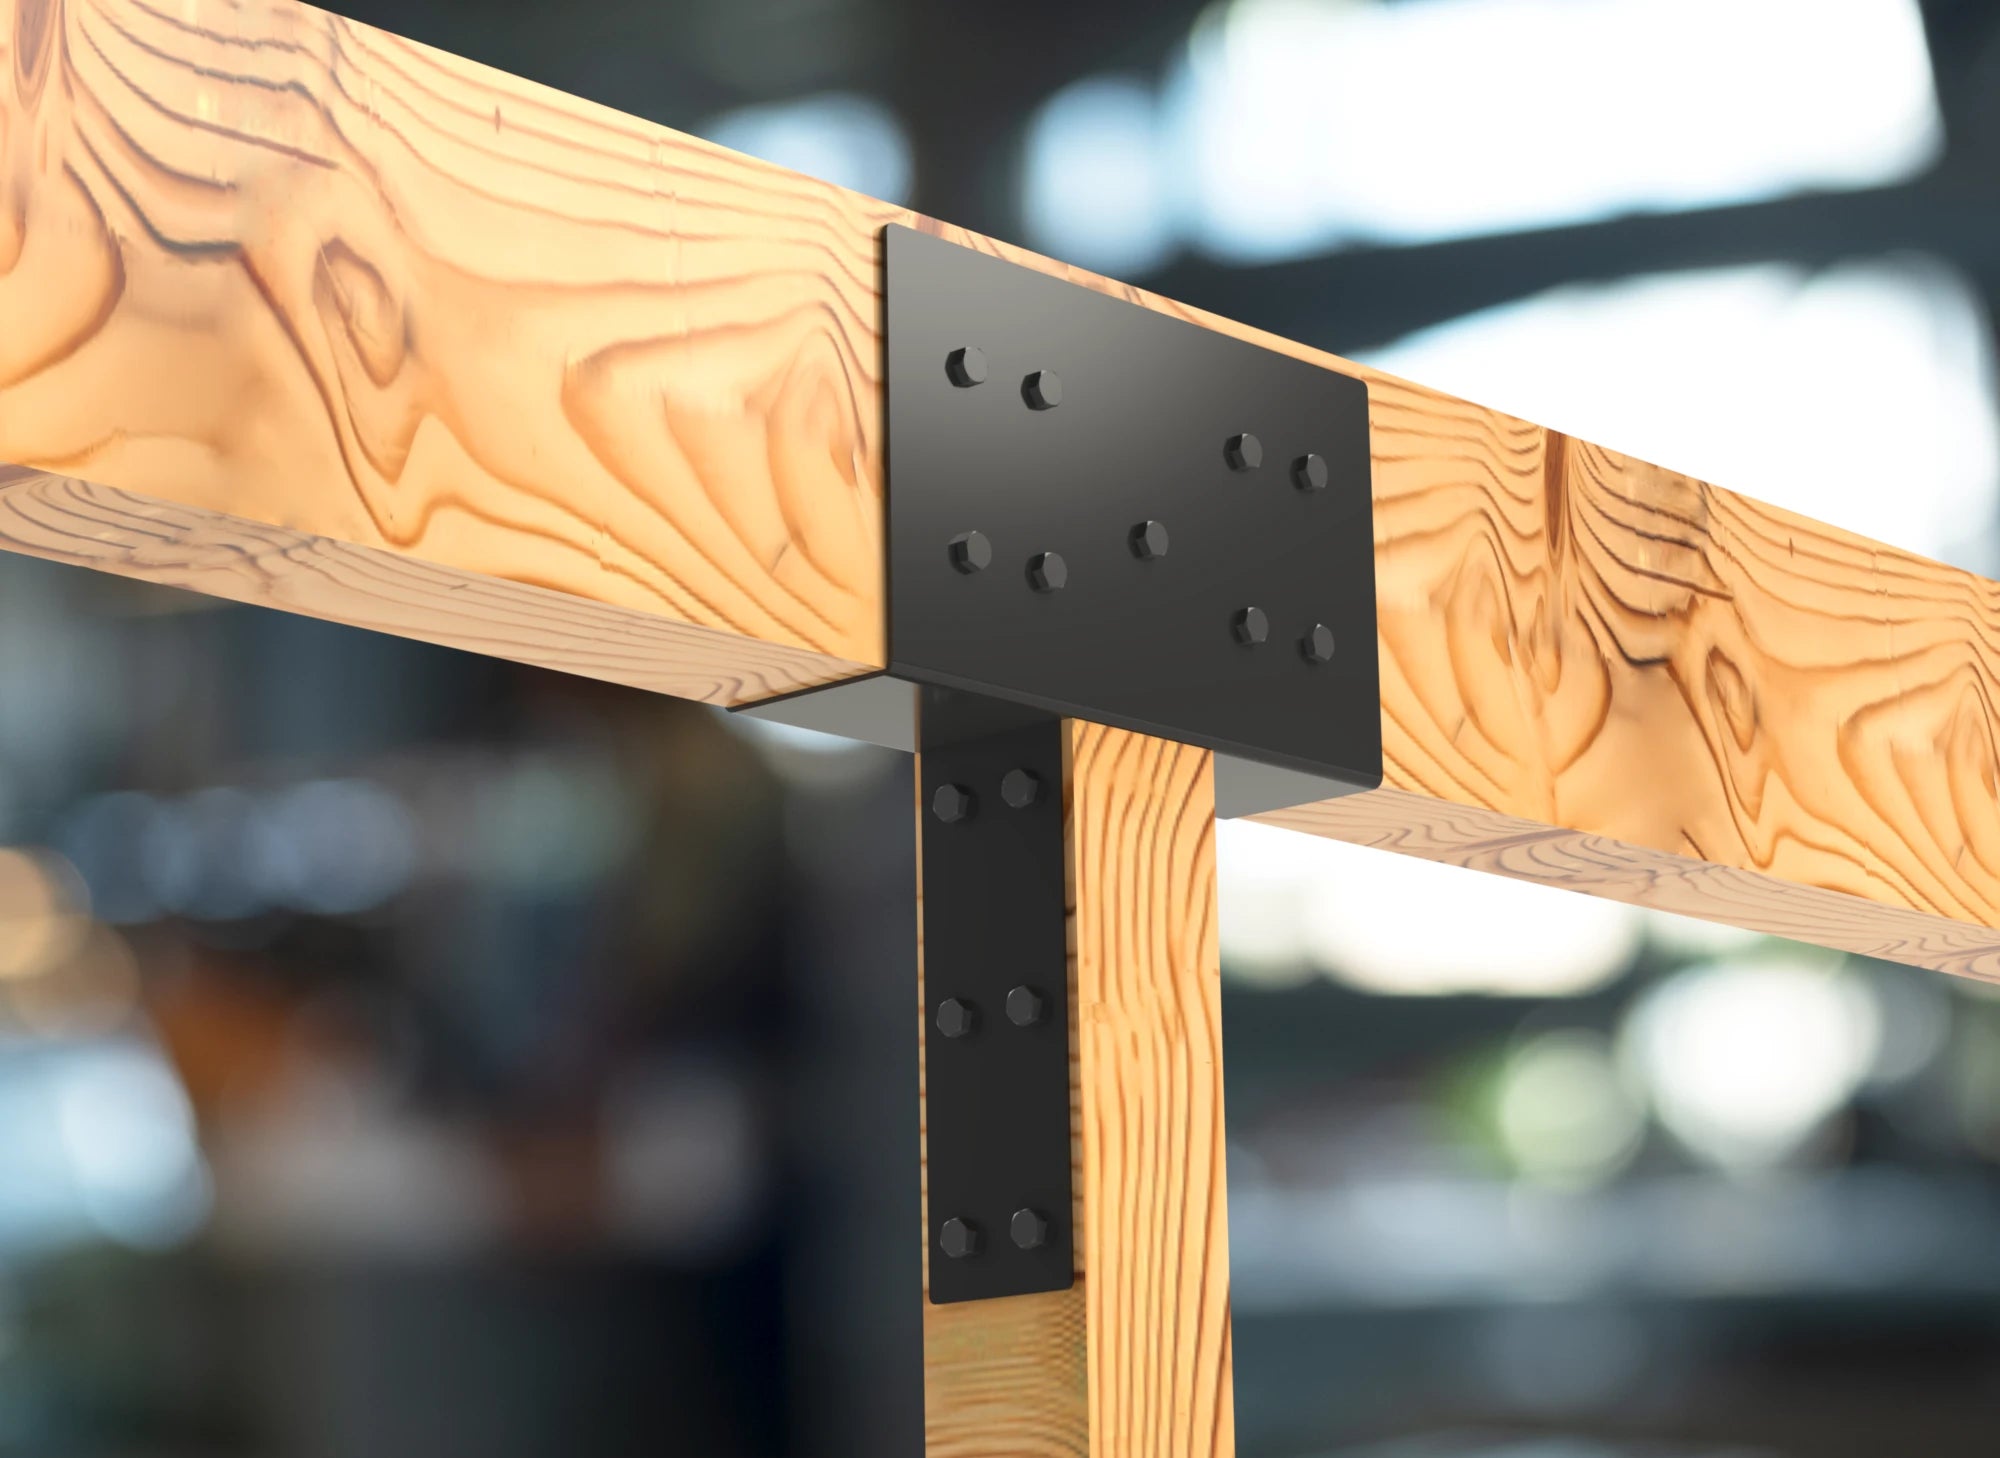
BEAM BRACKETS
BEAM BRACKETS
Rest easy with our beam brackets supporting your lumber connections!
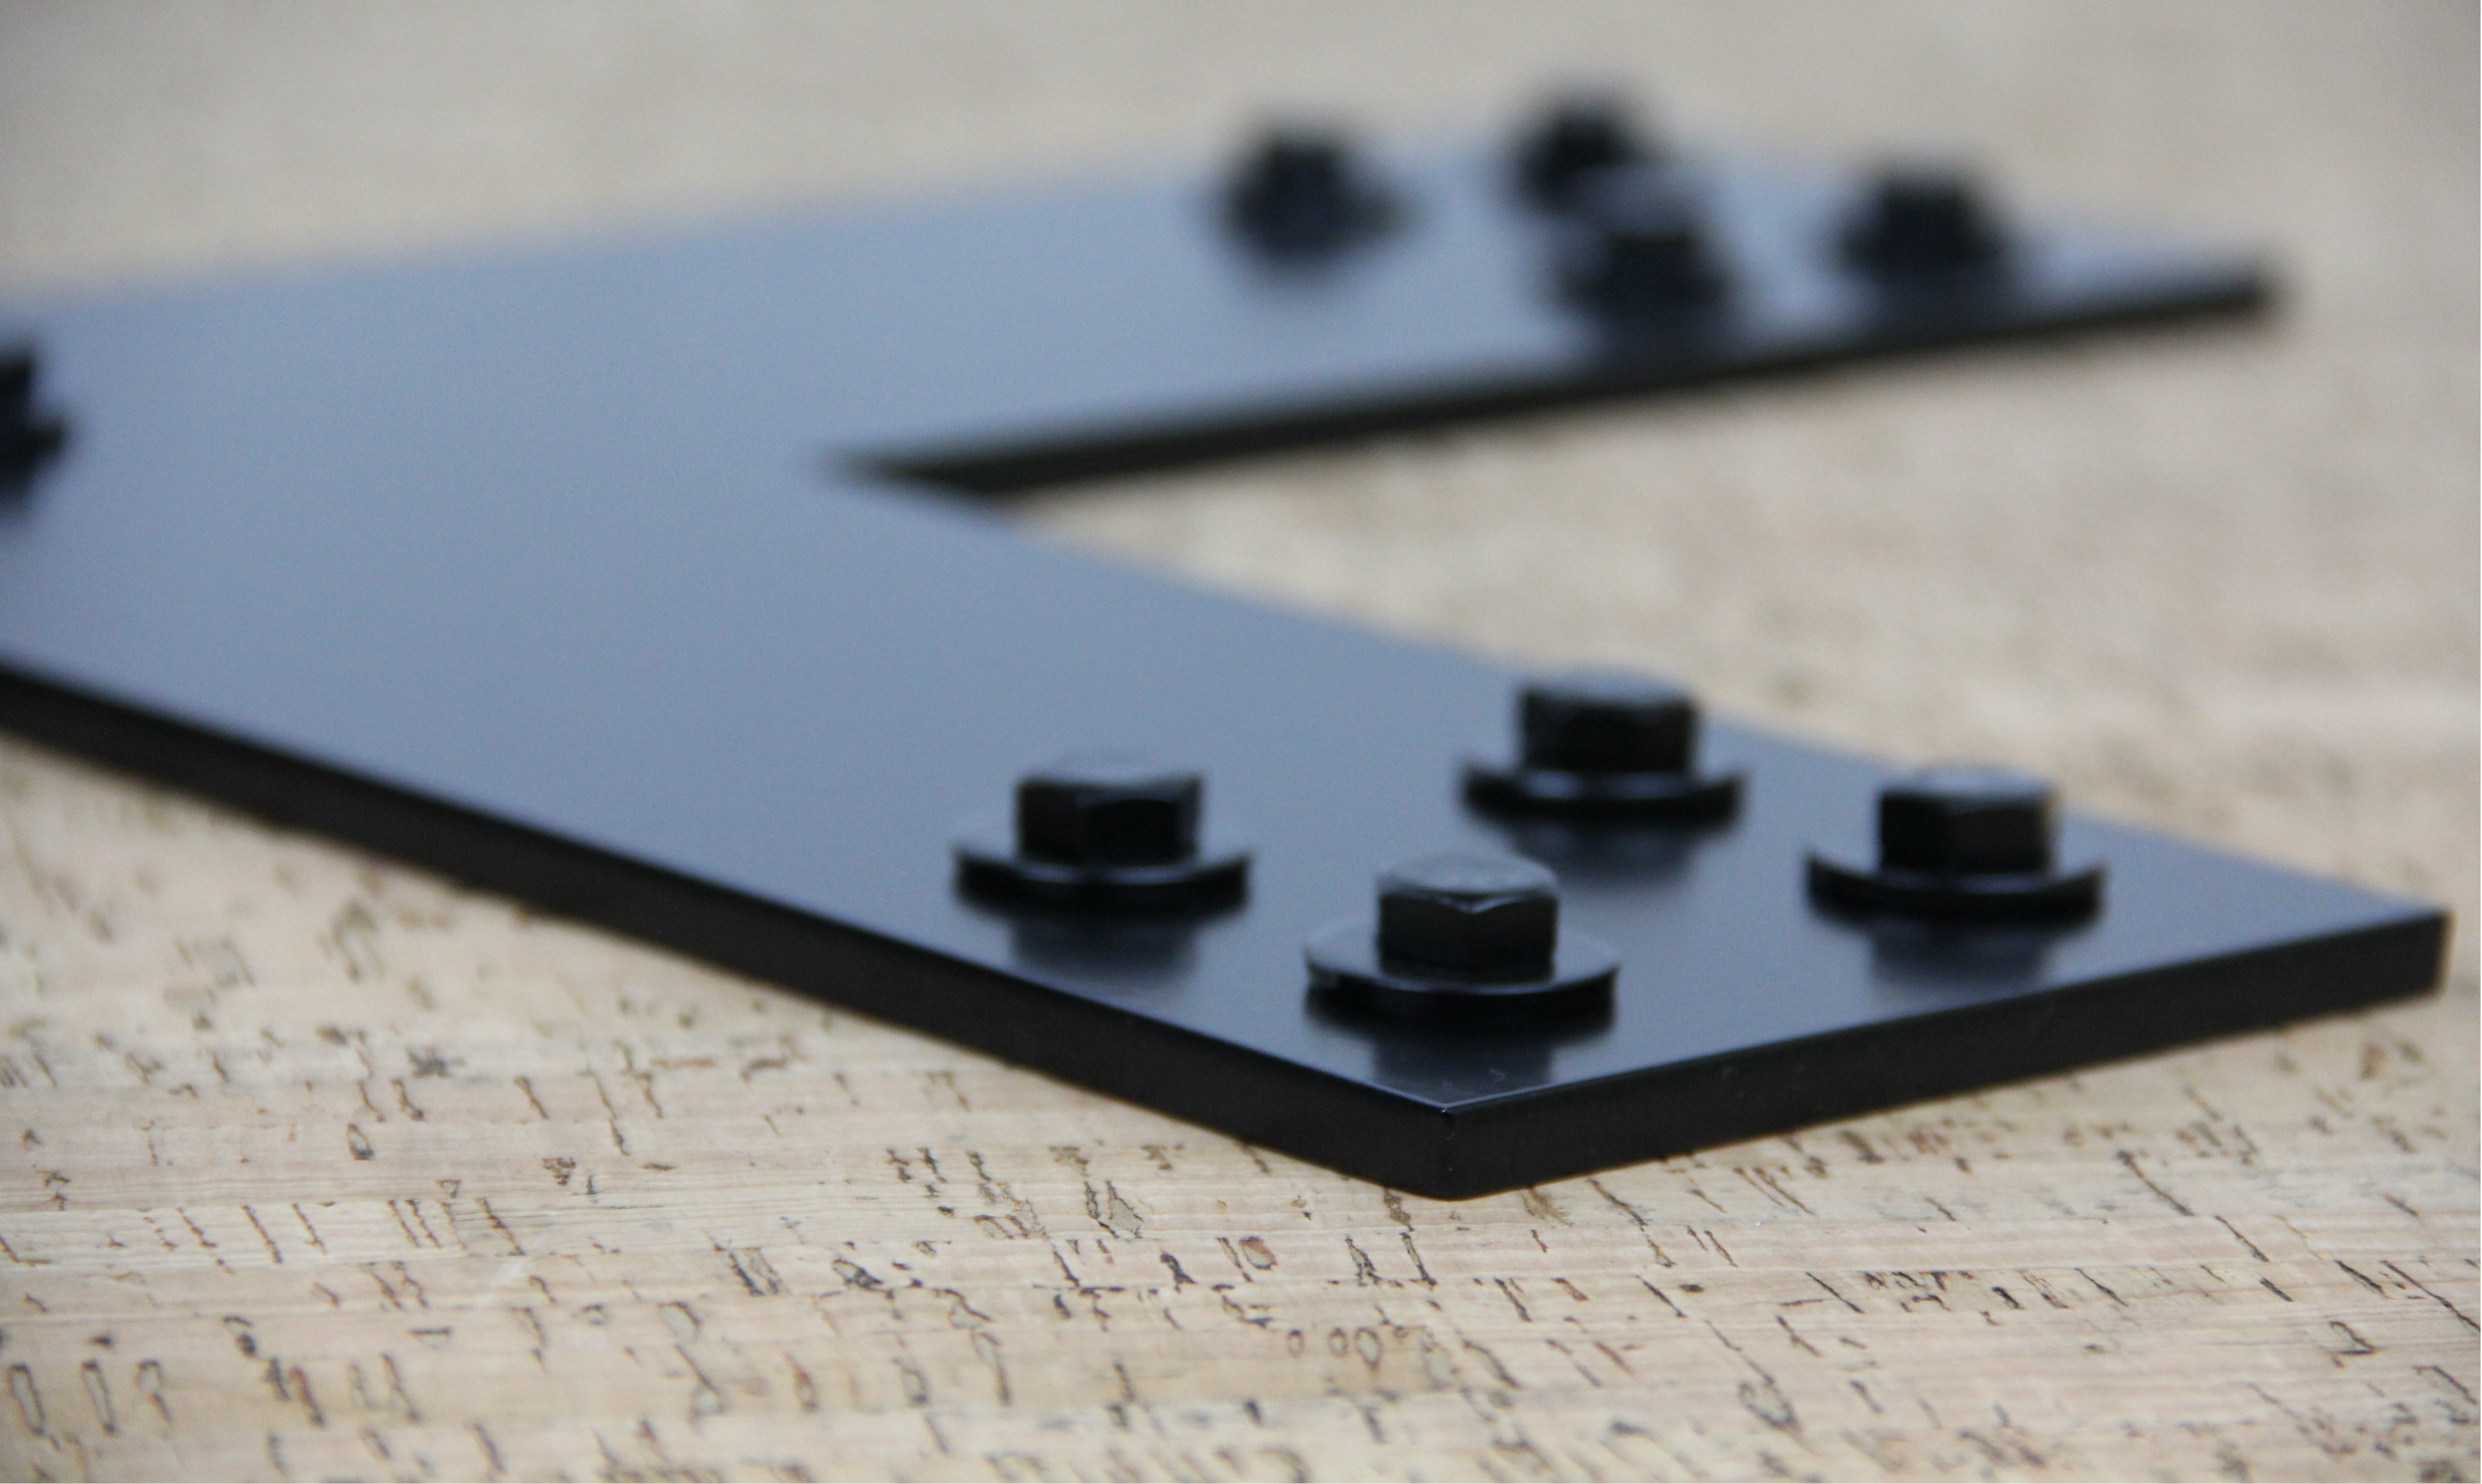
Hardware
Hardware
You are going to need hardware! Get them color matched to your brackets! (or not... we won't judge)
