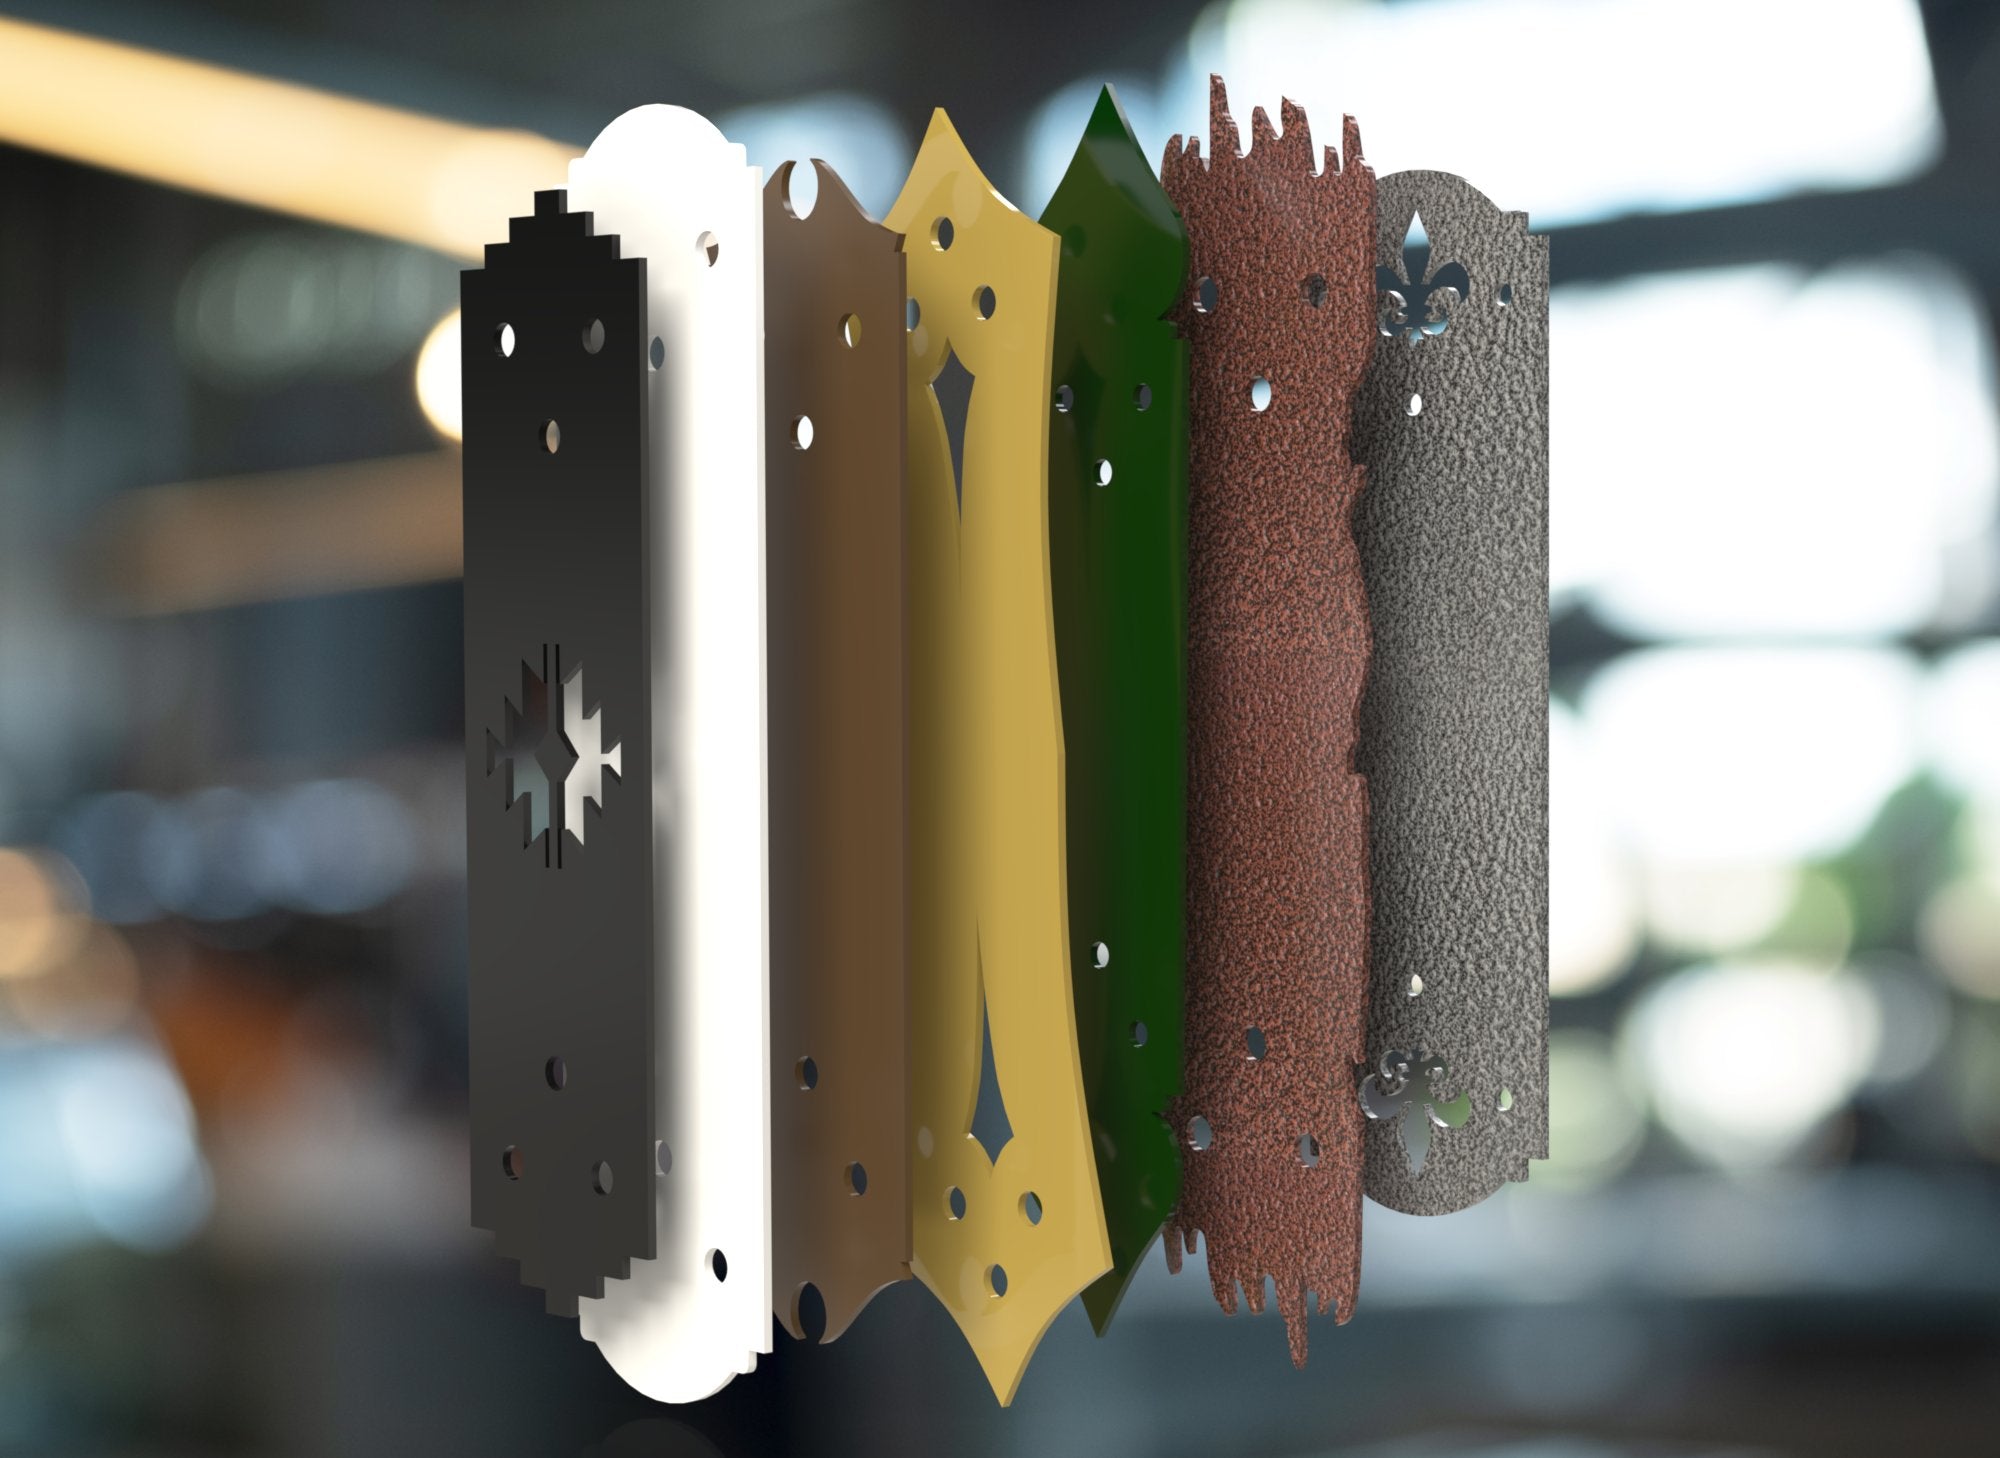
Do you need a unique color for your brackets but you're not sure how to properly paint our brackets? Read this article to learn how to properly paint bare metal.
Painting bare steel requires a bit of prep work to ensure the paint adheres properly and the steel is protected from rust. Here’s a step-by-step guide:
1. Clean the Steel
-
Remove dirt, grease, and oil: Use a degreaser or a mixture of soap and water. For tough grease, mineral spirits or acetone works well.
- This is important for the paint to properly bond with the metal and leave a smooth finish. If not properly cleaned the finish can come out looking rough and could possibly not stick to the metal.
-
Rinse and dry thoroughly: any leftover moisture can cause rust.
- Make sure the metal is fully dry before applying any paint or primer.
2. Remove Rust and Mill Scale
-
For light rust: Use sandpaper (80-120 grit) or a wire brush.
- Don't ignore even small patches of rust. Rust can still spread under paint if not removed.
-
For heavier rust or mill scale: Use a flap disc on an angle grinder, or even a chemical rust remover (like phosphoric acid-based products).
- Be careful using chemicals and use proper safety protection. Don't inhale any fumes or let any chemicals get onto your skin.
-
Optional: A rust converter can be applied if rust persists — this turns rust into a paintable surface.
- This is not recommended but is a possible alternative.
3. Apply a Primer (Crucial Step!)
-
Choose a primer made for metal — rust-inhibiting primers (zinc-based or epoxy primers) work best for steel.
- DO NOT skip this step. This will ensure the longevity of your paint job.
-
Spray or brush on a thin, even coat. Let it dry fully according to the manufacturer's directions (usually 24 hours).
- We recommend using spray primer and paint as it leaves a more even and smooth layer.
- Hold can 8-12 inches away from the bracket and gradually go back and forth making sure not to put more paint in one area than another.
4. Paint the Steel
-
Use paint formulated for metal — enamel, acrylic, or oil-based paints work well.
- We recommend using Rust-Oleum paint available at most hardware stores.
-
Apply in thin, even layers to prevent drips and ensure a smooth finish.
-
Let each coat dry before applying the next (2-3 coats is typical).
5. Seal It (Optional)
-
For added durability, especially for outdoor or high-moisture environments, apply a clear coat or metal-specific sealant.
- This can also make your paint look shinier or dual depending on the desired result.
Doing all these steps will ensure an even and long-lasting paint job.
Warning: We are not responsible for any poor paint jobs. Any and all brackets are non-returnable once any paint or alterations are made to our products. Paint at your own risk and Good Luck!