Installing a joist hanger is a crucial part of any construction project. Joist hangers provide strong, reliable support for connecting joists to beams or ledgers, ensuring the structural integrity of your deck, floor, or ceiling framework. In this guide, we’ll walk you through how to install a face mount joist hanger correctly and efficiently, using the right tools and techniques.
What is a Joist Hanger?
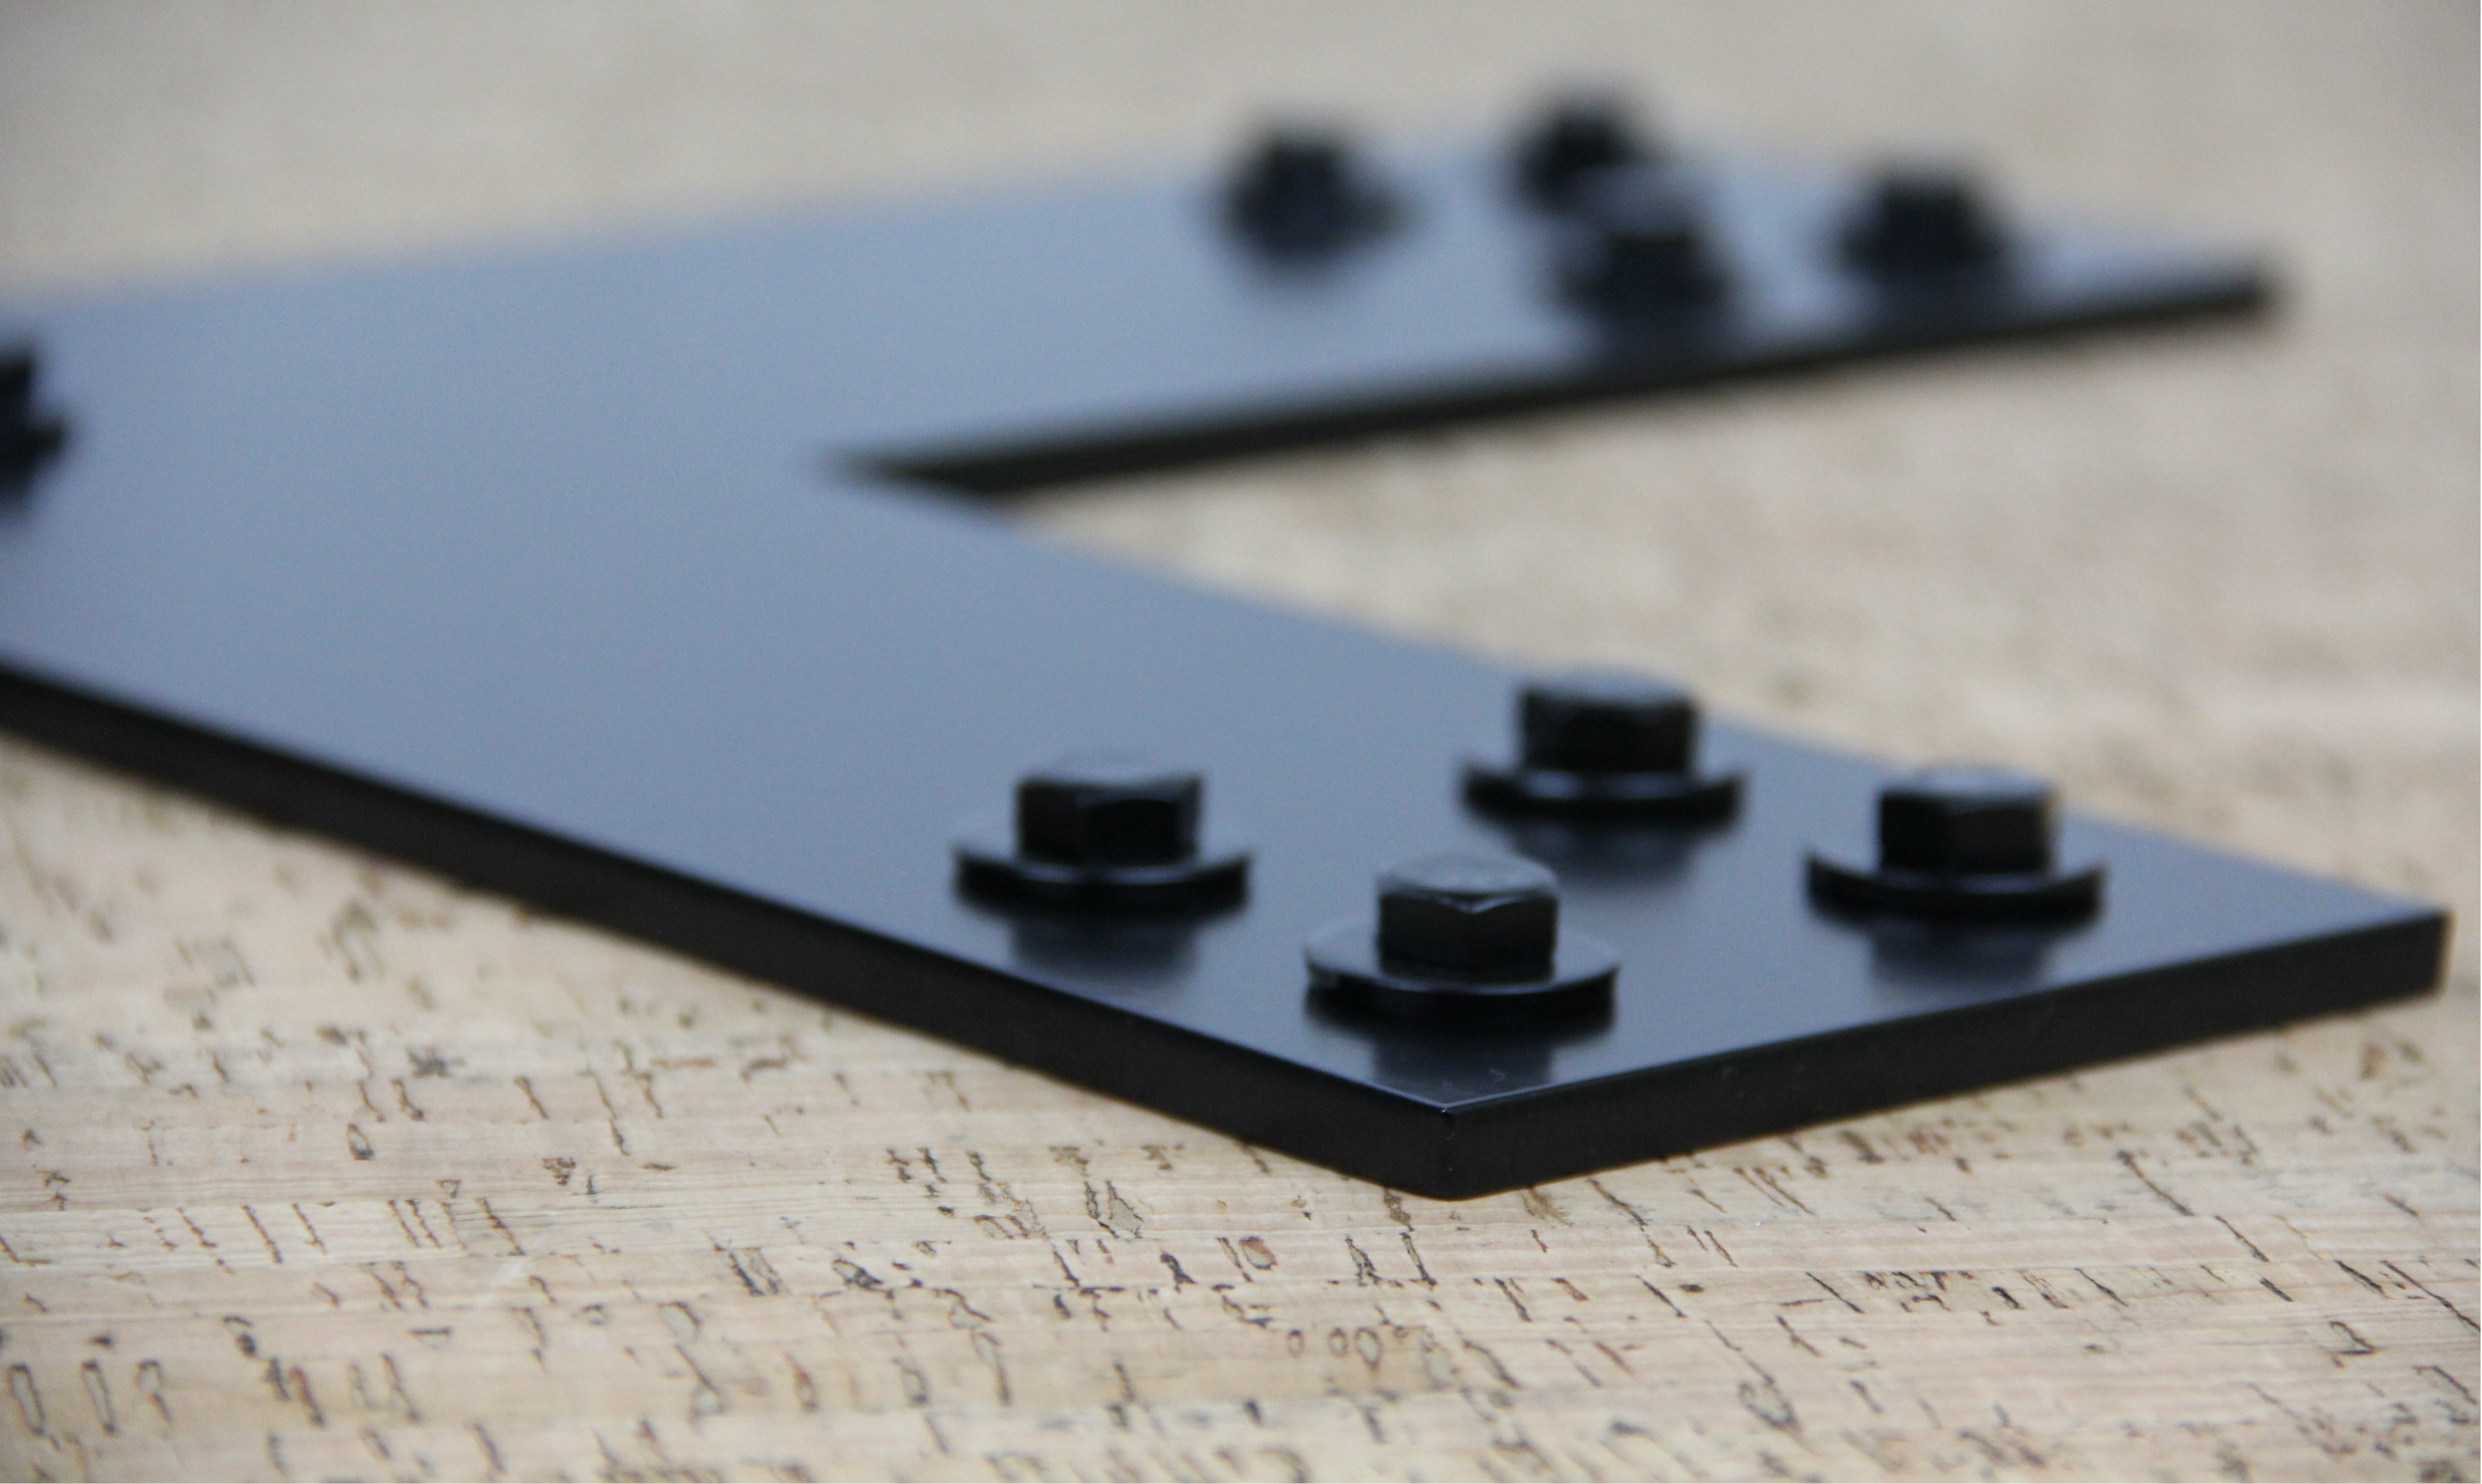
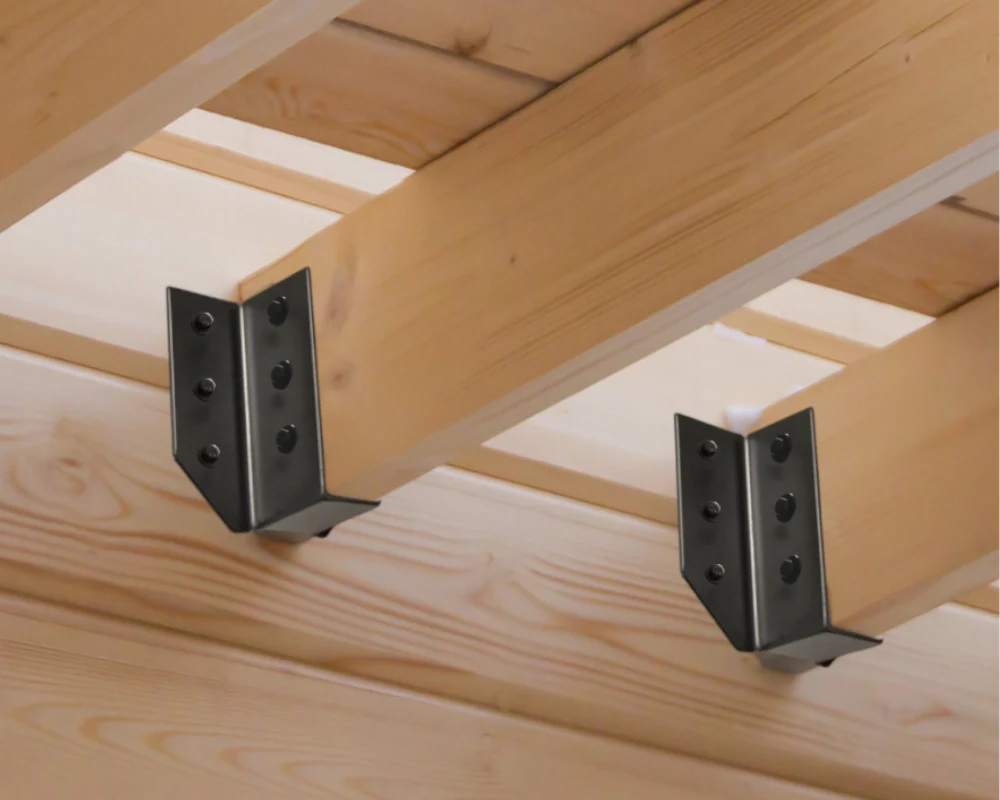
A joist hanger is a metal bracket designed to anchor floor joists, ceiling joists, or deck joists to a ledger board or beam. These connectors distribute weight evenly, reduce movement, and increase overall stability. Whether you're working on an outdoor deck, interior floor framing, or a shed platform, using a joist hanger ensures safety and durability.
Step-by-Step Instructions for Installing a Joist Hanger
1. Measure and Mark Joist Placement
Begin by measuring and marking the exact position of each joist on the ledger board or beam. Use a speed square to ensure your marks are square and evenly spaced, typically 16 inches on center for residential framing.
- Remember to double check your beam/ledger board to ensure that it is level before adding any joist hangers.
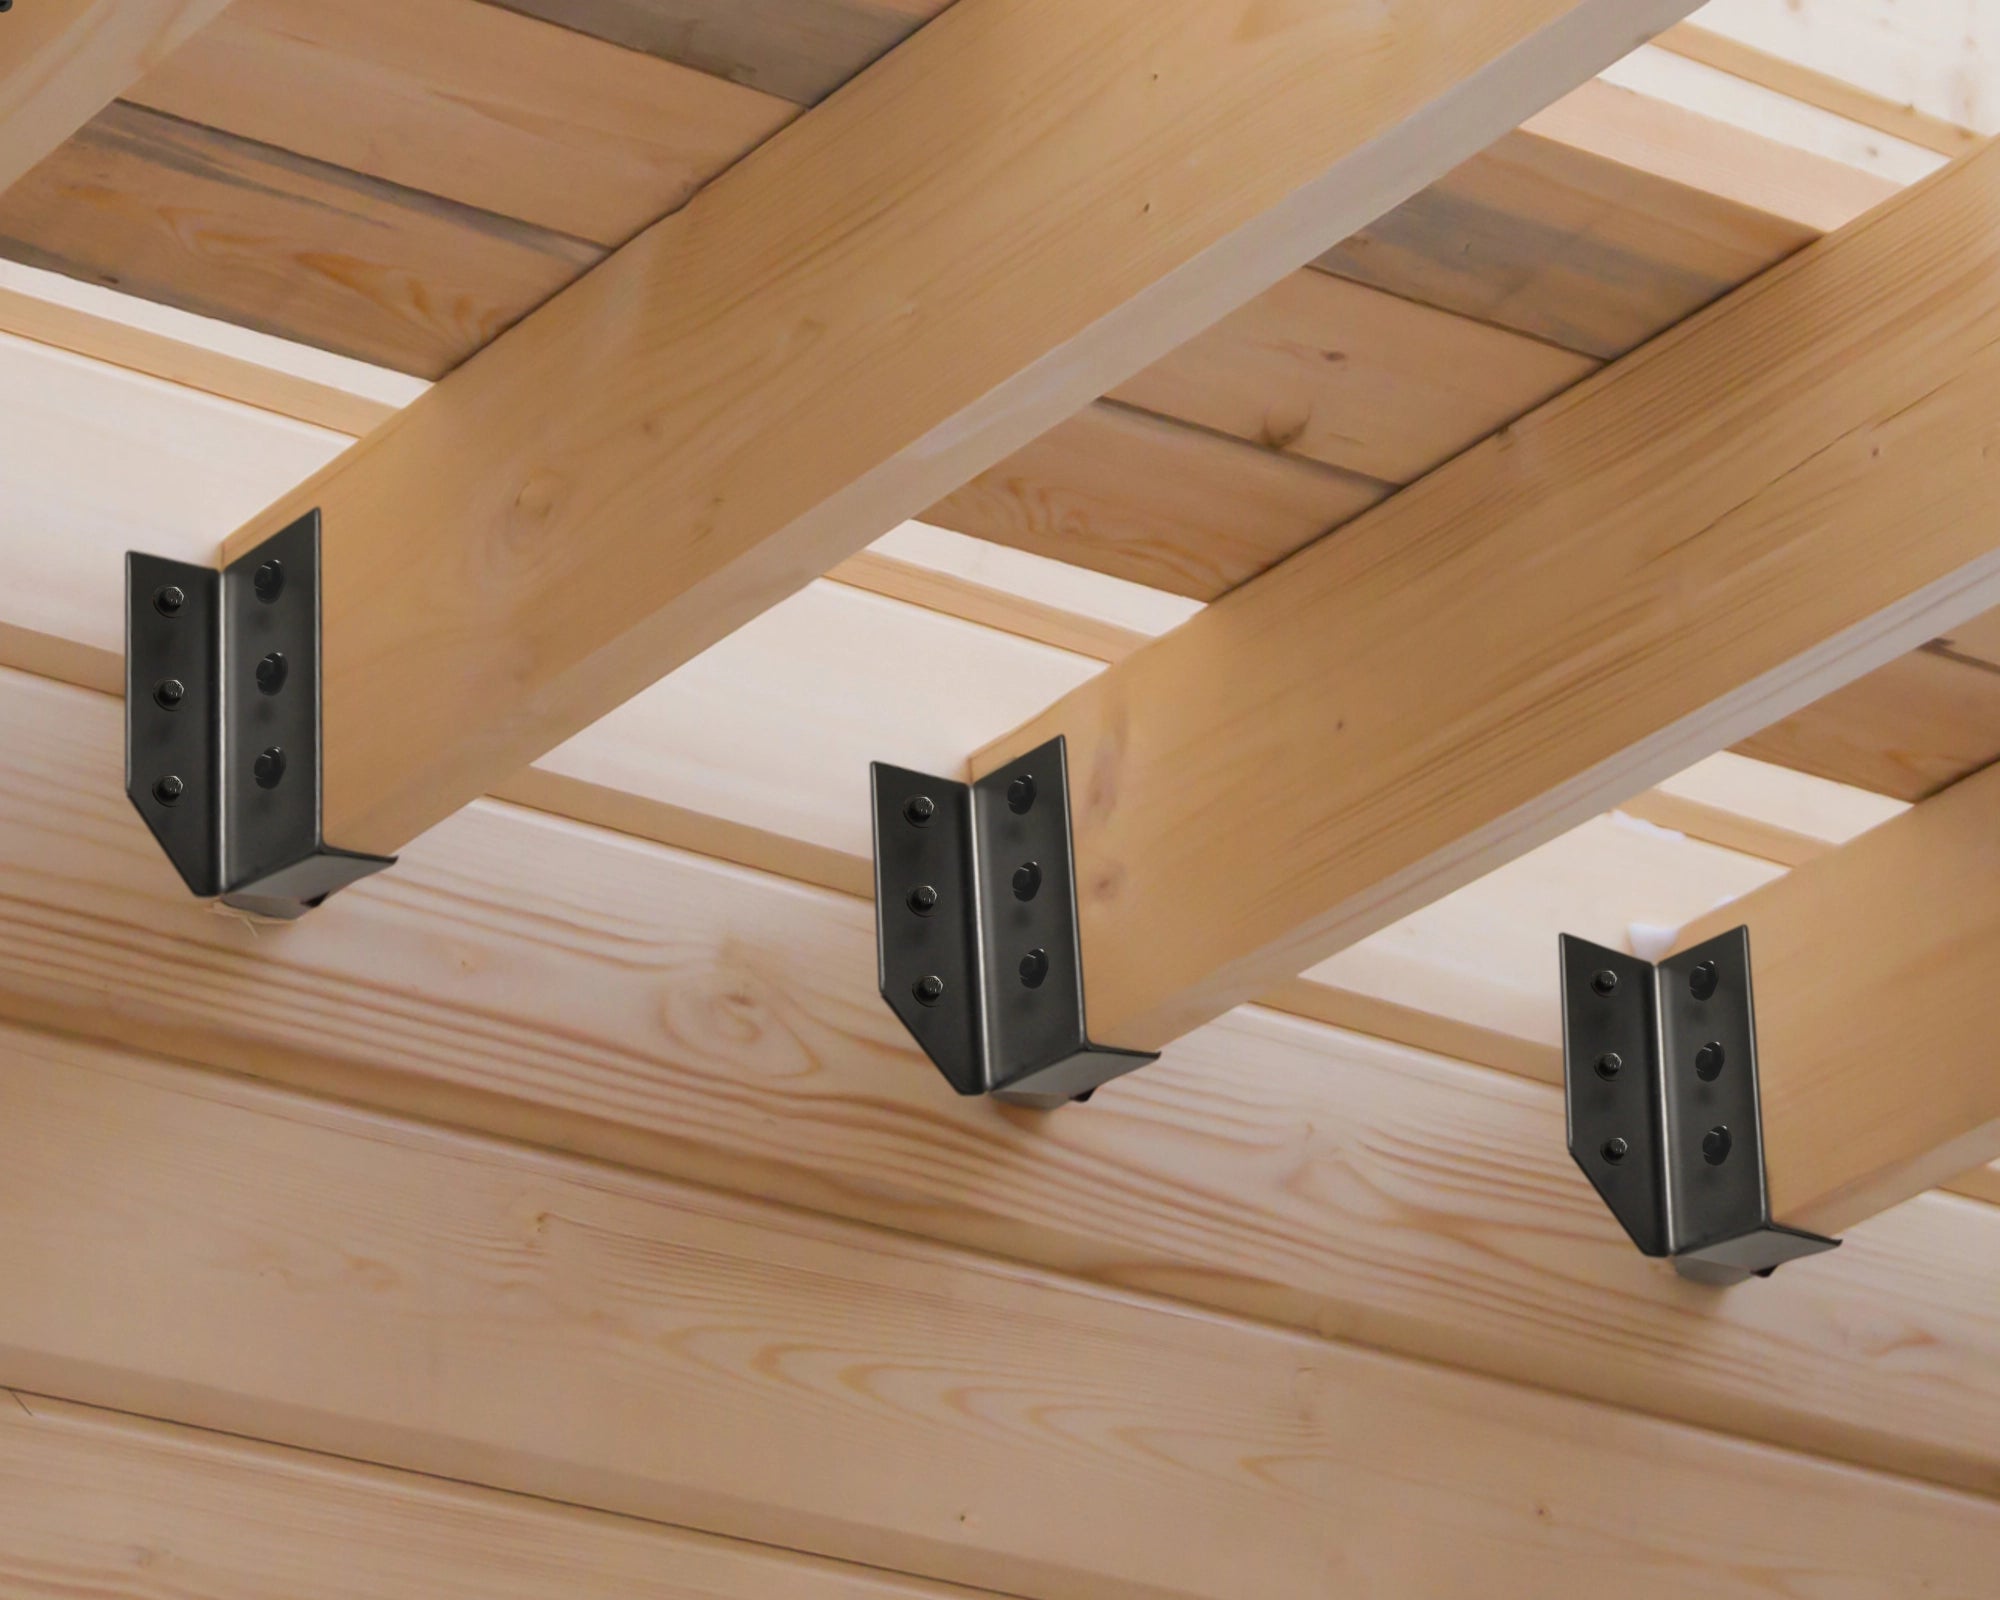
2. Position the Joist Hanger
Hold the joist hanger against the marked line on the ledger or beam. Make sure it is centered and flush with the top edge. Use a level to double-check its vertical alignment.
- An easy way to make sure the bracket stays level while installing the hardware is by making marks on the beam, underneath and on one or both sides of the hanger. Once you have those marks it is easy to refer back to and make sure the bracket stays level.
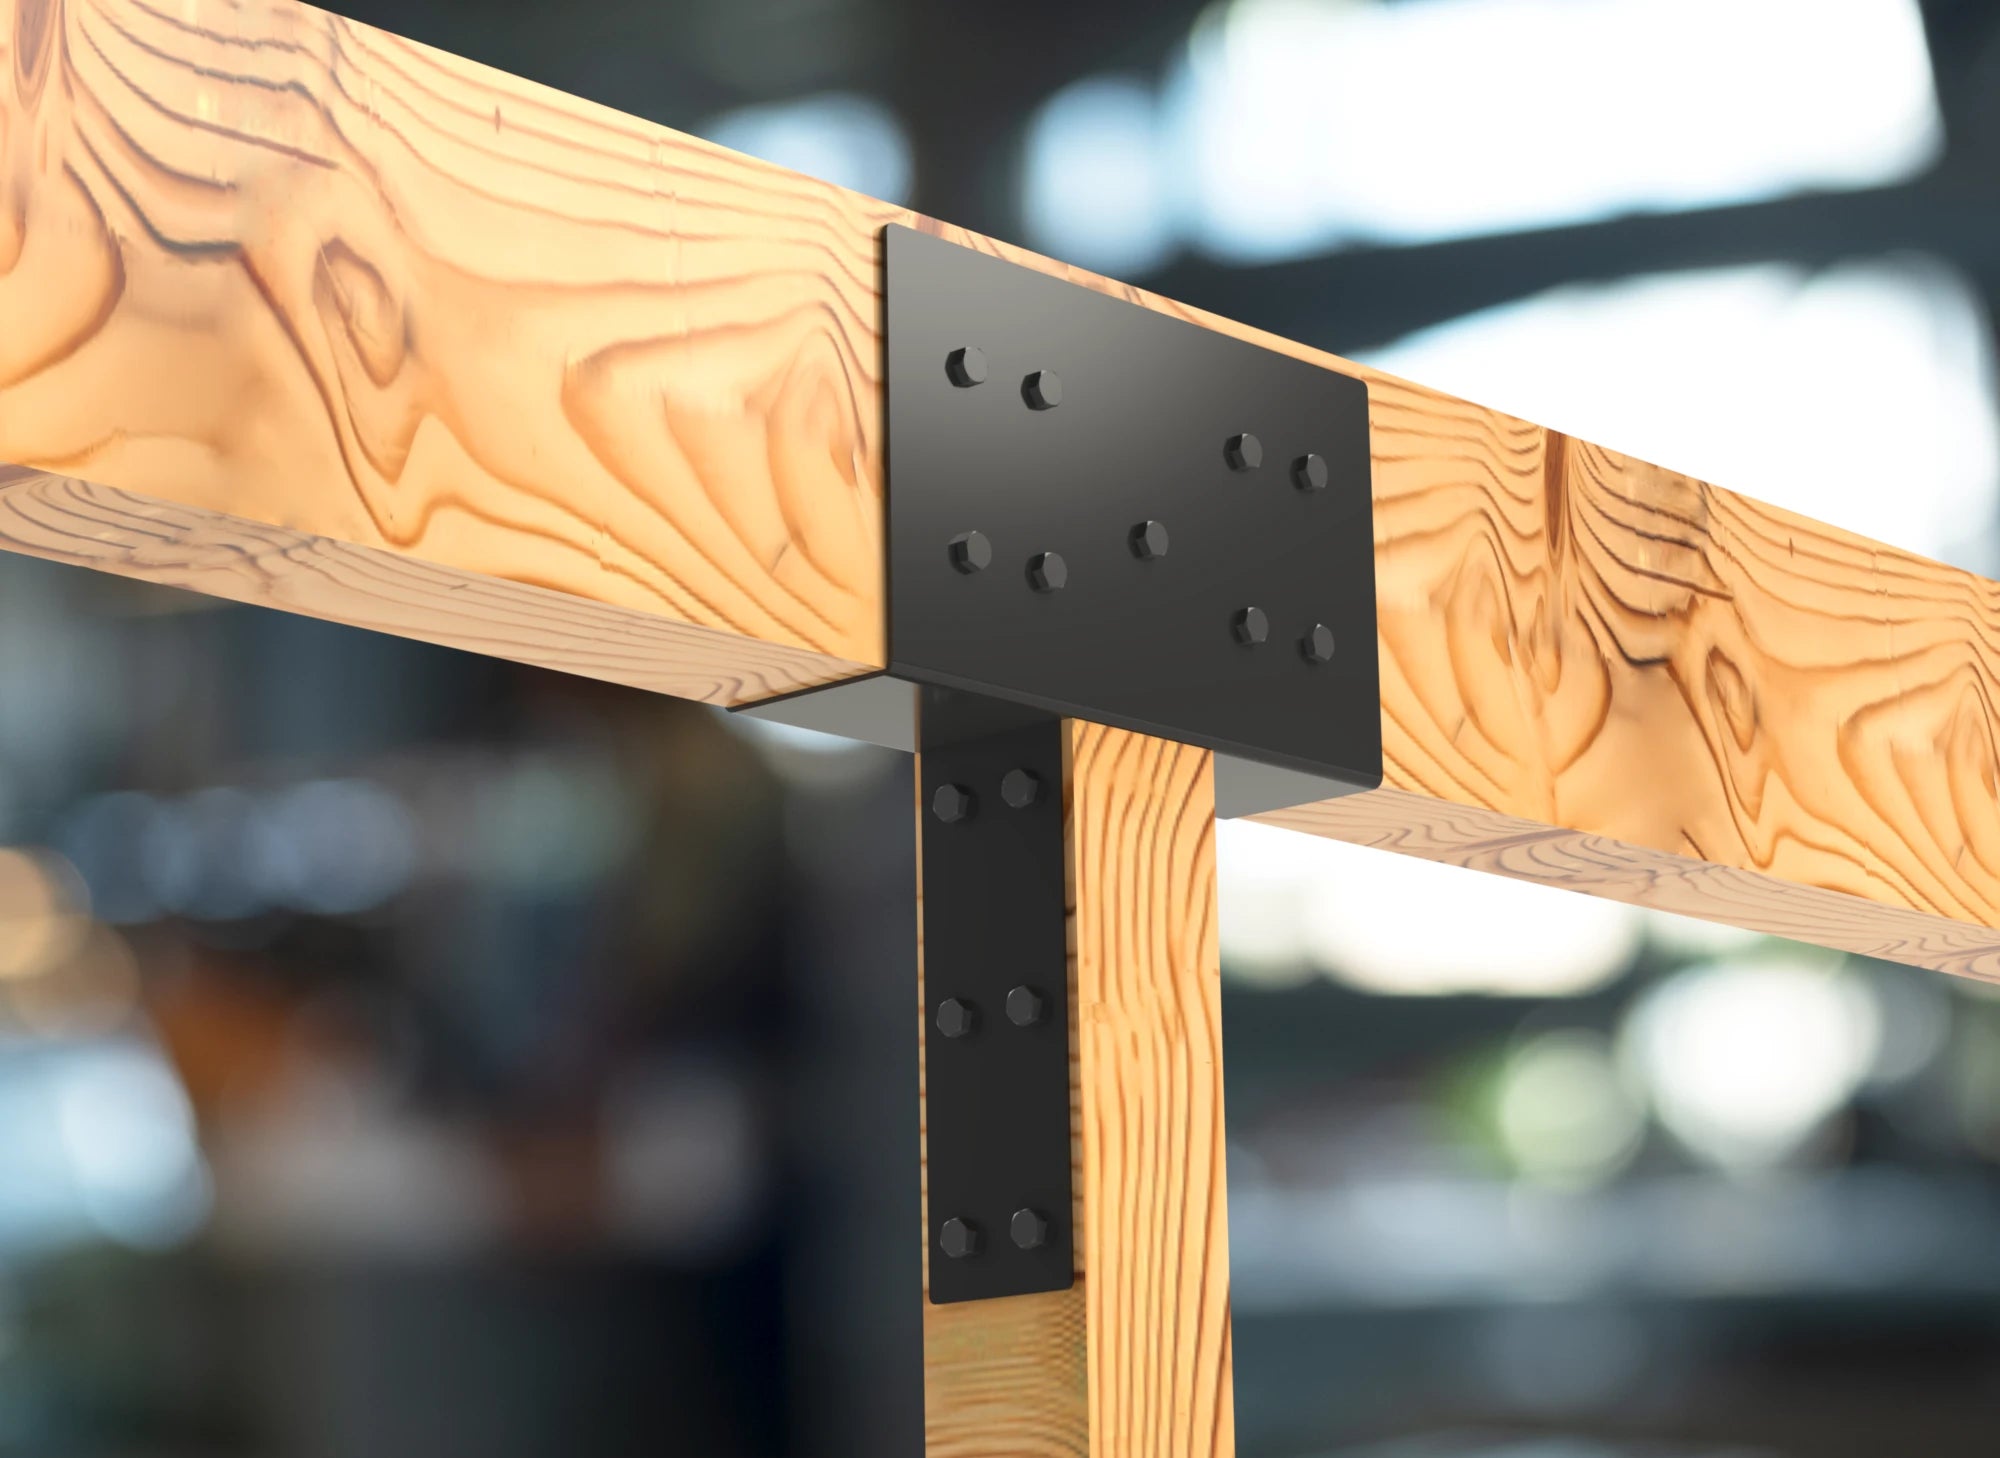
3. Attach the Joist Hanger to the Ledger or Beam
Using an impact driver, fasten the joist hanger to the ledger board or beam. Use bolts or lag screws rated for the amount of weight your joist hangers will be holding. Fasten all available nail holes on the flanges and side tabs to ensure a secure connection.
4. Insert the Joist
Place the joist into the hanger. It should fit snugly without forcing. If it’s too tight, slightly plane the end of the joist. We design our brackets to leave about 0.5"-0.75" of wood above the top of the hanger. This is mostly just for aesthetic reasons.
5. Fasten the Joist to the Hanger
Secure the joist by driving nails or screws through the angled side holes (joist nails) of the hanger into the joist. These diagonal nails increase the hanger’s load-bearing capacity and help prevent upward movement.
- Our joist hangers have offset holes so no bolts will run into each other while installing. Not all manufactures make theirs this way and you will only be able to put on nail/screw on either side.
6. Double-Check Alignment and Strength
Use a level to ensure the joist is sitting properly. Check all connections are tight and secure. Repeat the process for each additional joist.
- If your joist is not level, we highly recommend you unscrew the bracket and adjust. It is very important that everything is level and even with the other joists.
Tips for a Strong Joist Hanger Installation
-
Always use galvanized, stainless steel, or zinc plated joist hangers for outdoor projects to prevent corrosion.
-
Use only approved fasteners; regular nails or screws may compromise structural integrity.
-
When attaching hangers to concrete or masonry, use special concrete anchors or epoxy-set bolts.
Common Mistakes to Avoid
-
Using the wrong type or size of fasteners
-
Failing to fully seat the joist into the hanger or not sitting the joist flush with the ledger board/beam.
-
Skipping nail holes—every hole should be filled
-
Not checking for level before securing
Final Thoughts
Learning how to install a joist hanger correctly is essential for any construction project involving framed wood structures. Joist hangers provide the reliable support you need. Always follow local building codes and use proper tools to ensure safety and long-term stability